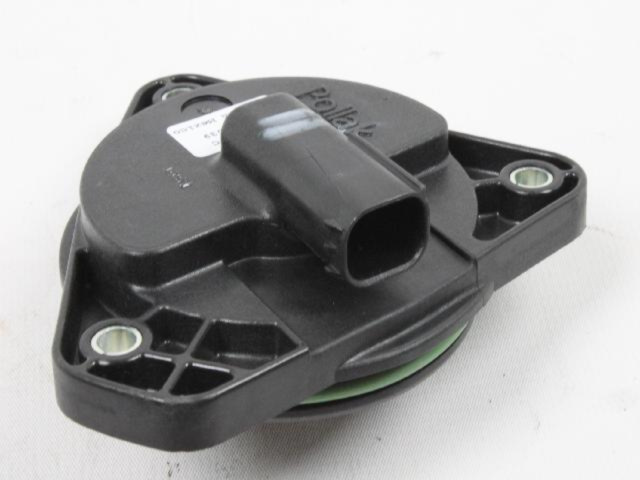
Dodge Ram 1500 Pcm Location
The PCM (Powertrain Control Module) on a Dodge Ram 1500 is located in the engine compartment, on the right side of the firewall.
How to Access the Dodge Ram 1500 PCM
To access the PCM, you will need to:
- Open the hood of your truck.
- Locate the PCM on the right side of the firewall.
- Disconnect the battery negative terminal.
- Disconnect the electrical connectors from the PCM.
- Remove the bolts that secure the PCM to the firewall.
- Carefully remove the PCM from the vehicle.
Once the PCM is removed, you can replace it with a new one.
How to Replace the Powertrain Control Module (PCM) in a Dodge Ram 1500: A Comprehensive Guide
Replacing the Powertrain Control Module (PCM) in a Dodge Ram 1500 is a crucial task that ensures the optimal performance of your vehicle. The PCM is the brain of your truck, controlling various engine functions.
This guide provides a step-by-step walkthrough to help you successfully replace the PCM in your Dodge Ram 1500.
You can also check out the video:
Tools and Supplies Needed
- A compatible PCM for your Dodge Ram 1500 model and year
- A socket wrench equipped with a 10mm socket
- A flat-head screwdriver
- Electrical connectors compatible with your PCM
- A scan tool for diagnostics
Step-by-Step Instructions
Step 1: Open the Hood
Begin by opening the hood of your Dodge Ram 1500 to access the engine compartment.
Step 2: Locate the PCM
The PCM is typically located on the right side of the firewall in the engine compartment.
Step 3: Disconnect the Battery
For safety reasons, disconnect the negative terminal of the battery using your 10mm socket wrench.
Step 4: Remove Electrical Connectors
Locate the electrical connectors plugged into the PCM. Carefully disconnect them by pressing down on the release tab and pulling the connector out.
Step 5: Unbolt the PCM
Use your 10mm socket wrench to remove the bolts securing the PCM to the firewall. Keep these bolts in a safe place as you’ll need them to install the new PCM.
Step 6: Remove the Old PCM
Once the bolts are removed, carefully slide out the old PCM from its mounting location.
Step 7: Install the New PCM
Place the new PCM into the mounting location and secure it with the bolts you removed earlier. Make sure not to overtighten the bolts.
Step 8: Reconnect Electrical Connectors
Plug the electrical connectors back into the new PCM, ensuring they snap into place.
Step 9: Reconnect the Battery
Reconnect the negative terminal of the battery and tighten it using your 10mm socket wrench.
Step 10: Perform a System Check
Start your Dodge Ram 1500 and check for any leaks or other issues that might have arisen during the installation.
Step 11: Clear Error Codes
Use a scan tool to clear any error codes that may be stored in the PCM.
Tips and Precautions
- Be cautious not to overtighten the bolts securing the PCM, as this could damage the unit.
- After disconnecting the battery, you may need to reset your radio settings and other electronic devices.
Replacing the PCM in your Dodge Ram 1500 is a straightforward process when you have the right tools and follow these steps carefully. Doing so will ensure that your vehicle operates efficiently and is up to date with the latest hardware.


