How to Bypass Hood Latch Sensor: Easy Step-by-Step Guide
Bypassing a hood latch sensor might seem tricky. But it’s doable with some guidance.
In this blog post, we will explore how to bypass a hood latch sensor. Many cars have these sensors for safety and security reasons. Yet, sometimes the sensor can malfunction. This can cause the car to think the hood is open when it isn’t.
This can be frustrating and inconvenient. Understanding how to bypass the sensor can save you time and stress. Before you start, remember this is a temporary fix. Always plan to get a proper repair later. Let’s dive into the steps needed to bypass the hood latch sensor effectively.
Tools Needed
Bypassing a hood latch sensor requires certain tools for a smooth process. Having the right tools helps you get the job done efficiently and safely. Below, you’ll find a list of essential and optional tools for bypassing the hood latch sensor.
Essential Tools
These tools are crucial for bypassing the hood latch sensor. Make sure you have them on hand before starting the task.
- Screwdrivers: You need both flathead and Phillips screwdrivers.
- Pliers: Needle-nose pliers are ideal for gripping and pulling wires.
- Wire Cutters: Used to cut and strip wires neatly.
- Electrical Tape: Important for insulating wire connections.
- Multimeter: Helps in checking the electrical connections and ensuring proper voltage.
Optional Tools
While not mandatory, these tools can make the task easier and more efficient.
- Heat Shrink Tubing: Provides a more durable wire insulation option.
- Wire Connectors: Useful for creating secure wire connections.
- Socket Set: Helps in removing bolts or nuts that might be in the way.
- Work Light: Ensures you have good visibility while working.
- Gloves: Protect your hands from sharp edges and electrical hazards.
Credit: www.gm-trucks.com
Locating The Hood Latch Sensor
When your hood latch sensor goes on the fritz, it can be a real headache. Whether you’re a car enthusiast or just a regular driver, knowing where to find this elusive sensor is the first step to bypassing it. Let’s dive into the nitty-gritty of locating the hood latch sensor. Don’t worry, it’s easier than you think!
Common Sensor Locations
The hood latch sensor can be in several places depending on your vehicle make and model. Here are the most common locations:
- Near the hood latch mechanism – This is the most straightforward place to look. Open your hood and check near the latch. You might find the sensor attached to or near the latch itself.
- Along the front grille – Some cars have the sensor located along the front grille. It’s usually tucked away, so you might need a flashlight to spot it.
- Behind the radiator support – This is another common spot. The sensor might be mounted behind the radiator support, so take a peek there.
Consulting The Vehicle Manual
If all else fails, your best bet is to consult the vehicle manual. Here’s why:
- Accurate information – The manual provides exact details about sensor locations specific to your vehicle model.
- Step-by-step guidance – It often includes diagrams and step-by-step instructions that make the process a breeze.
Don’t have the manual handy? No problem! Many manufacturers offer digital versions online. Just search for your car’s make and model plus “manual,” and you should find it in no time.
Remember, knowing where to look is half the battle. Once you’ve located the sensor, you’re well on your way to bypassing it and getting back on the road. Happy tinkering!
Disconnecting The Battery
Disconnecting the battery is a crucial step when bypassing the hood latch sensor. It ensures safety and prevents any electrical mishaps. Follow these steps carefully to avoid damaging your vehicle’s electrical system.
Safety Measures
Before starting, ensure the vehicle is in park. Turn off the engine and remove the keys from the ignition. Wear safety gloves and glasses to protect yourself. Make sure you are in a well-ventilated area.
Steps To Disconnect
First, locate the battery under the hood. Identify the negative terminal, usually marked with a minus sign (-). Use a wrench to loosen the nut on the negative terminal. Carefully remove the cable from the terminal and set it aside, ensuring it does not touch any metal parts. Next, repeat the process for the positive terminal, marked with a plus sign (+). Once both cables are disconnected, you can proceed with bypassing the hood latch sensor.

Credit: www.reddit.com
Accessing The Hood Latch Sensor
Accessing the hood latch sensor is a crucial step in bypassing it. This process involves removing several components to reach the sensor. Knowing the steps can save time and prevent damage. Let’s start with removing the grille.
Removing The Grille
First, locate the screws holding the grille in place. These are usually at the front of the vehicle. Use a screwdriver to remove them. Keep the screws safe to reattach the grille later. Gently pull the grille away from the vehicle. Be careful not to break the clips holding it.
Releasing The Hood Latch
After the grille is removed, you can access the hood latch. Find the latch mechanism, usually near the center. Use a wrench to release the latch. Pull the latch handle to disengage it. Ensure the hood is supported before fully opening it.
With the hood open, locate the sensor connected to the latch. Carefully unplug the sensor. This step bypasses the hood latch sensor. Reassemble the parts in reverse order.
Bypassing The Sensor
Bypassing the hood latch sensor can save time and money. This guide helps you do it safely. Read on to learn the steps involved.
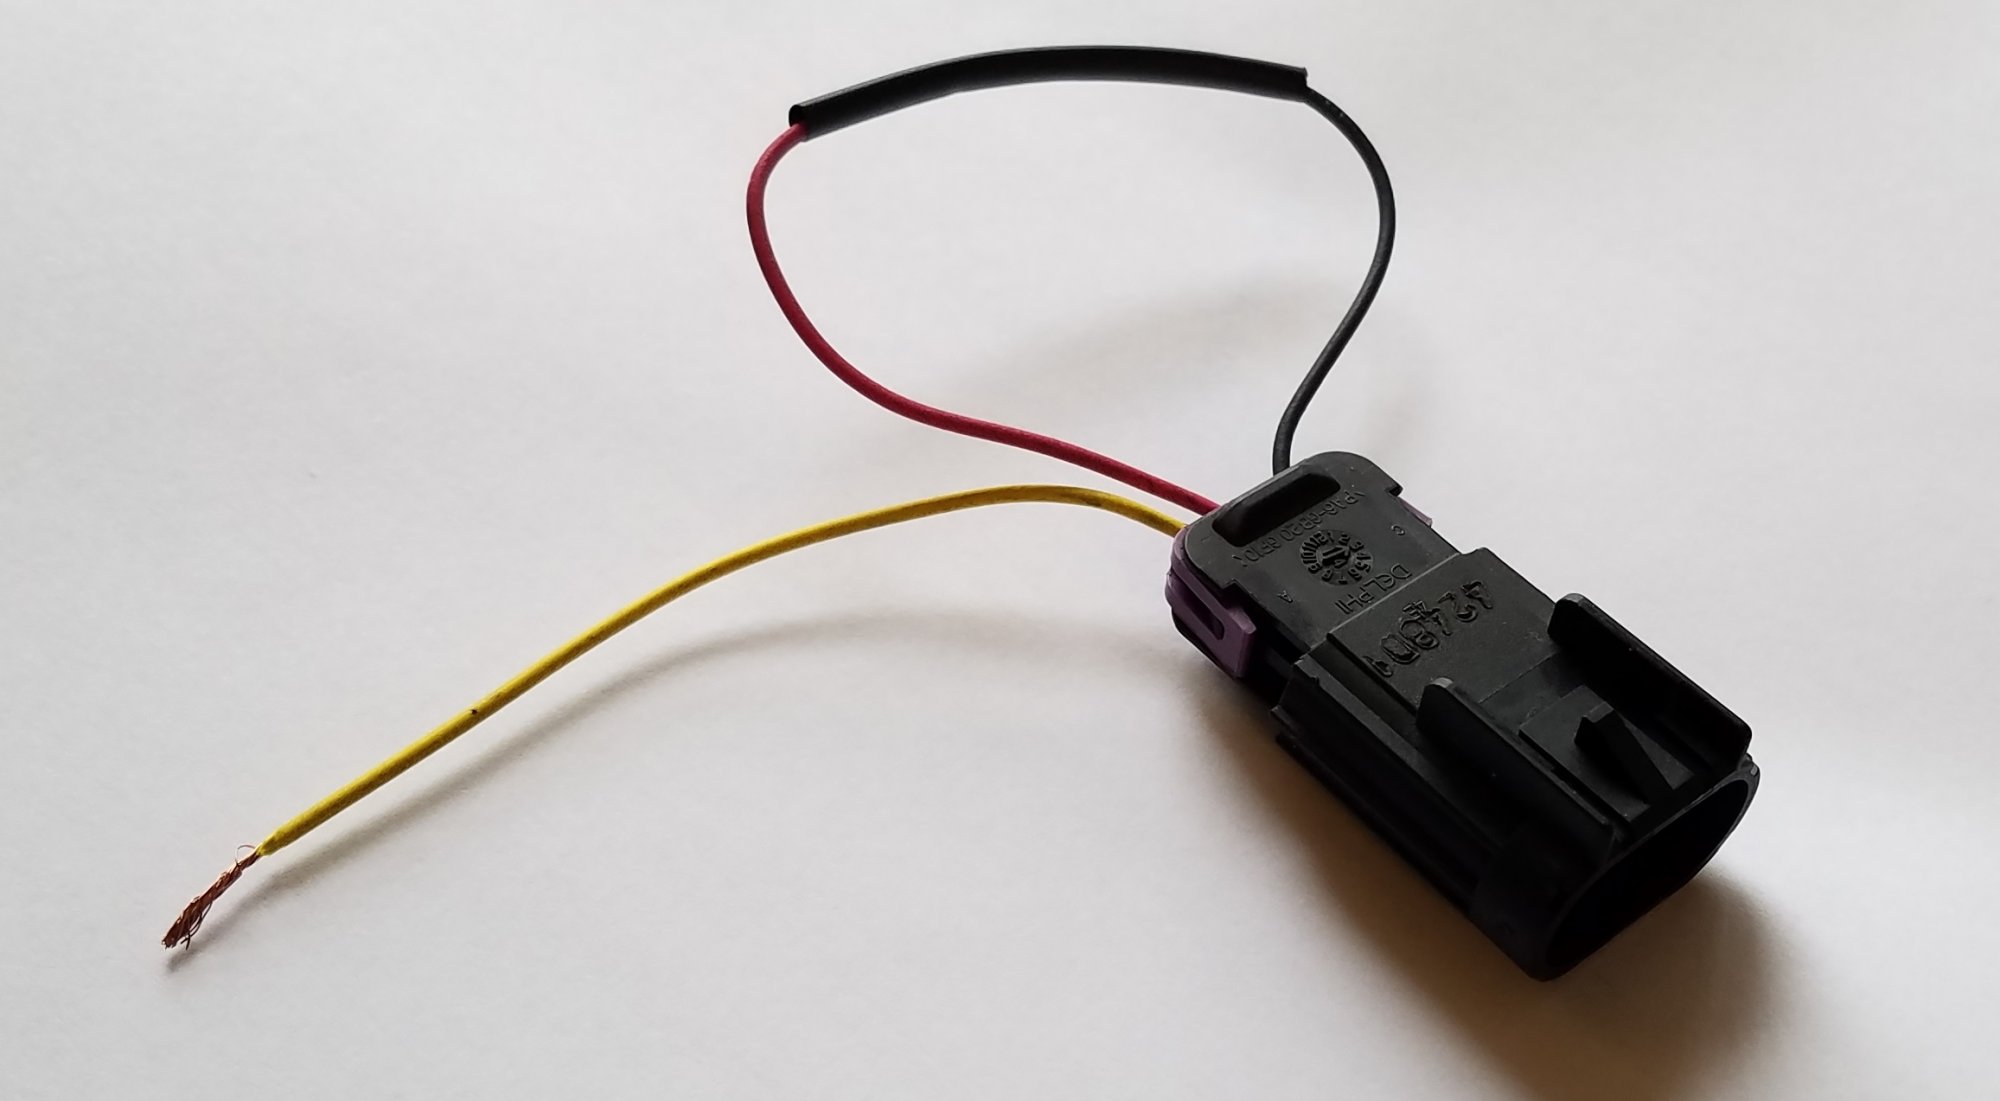
Identifying The Wires
First, locate the hood latch sensor wires. Open your car hood. Look for the sensor near the latch mechanism. The sensor usually has two or three wires connected to it. Carefully trace these wires to their connection points.
Use a wiring diagram for your car model. This will help identify the correct wires. Make sure to disconnect the car battery before proceeding. This prevents any electrical mishaps during the process.
Connecting The Bypass
Next, prepare to connect the bypass. Find a jumper wire or a suitable bypass tool. Strip a small section of the sensor wires. Connect the jumper wire to the stripped sections.
Ensure a secure connection. This ensures the bypass works effectively. After connecting the jumper wire, recheck the connections. Make sure everything is tight and secure. Finally, reconnect the car battery and test the hood latch sensor.
If done correctly, the sensor should be bypassed. The hood should now open and close without issues.

Credit: forum.digikey.com
Reassembling The Components
After successfully bypassing the hood latch sensor, it’s time to reassemble all the components. This step is crucial to ensure your vehicle operates smoothly and safely. Follow these steps closely to get your car back in perfect shape.
Reattaching The Grille
First things first, let’s get that grille back where it belongs. The grille serves not only as a protector for the engine but also adds to the aesthetic appeal of your vehicle.
- Align the grille with the mounting points on the front of the car.
- Ensure that all clips and screws are lined up correctly.
- Secure the grille using the screws you removed earlier. If you misplaced any, a quick trip to the hardware store can save the day.
- Double-check to make sure the grille is firmly attached and not loose. A loose grille can cause vibrations and noise while driving.
Remember, patience is key here. Taking the time to align everything properly will save you from potential headaches down the road.
Reconnecting The Battery
Now that the grille is back in place, it’s time to reconnect the battery. This is a straightforward process but requires caution. Let’s dive in:
- Step 1: Locate the battery terminals. Ensure they are clean and free from corrosion.
- Step 2: Attach the positive terminal first (usually marked with a ‘+’ sign). Tighten the clamp securely.
- Step 3: Next, connect the negative terminal (marked with a ‘-‘ sign). Make sure it’s also secured tightly.
- Step 4: Double-check both connections to ensure they are snug and won’t come loose.
Here’s a little tip from my own experience: Keep some baking soda and water handy to clean any corrosion off the terminals. It’s a simple trick that works wonders!
With the grille reattached and the battery reconnected, you’re almost ready to hit the road. But wait, don’t forget to test everything before driving off. Fire up the engine and check all sensors and indicators on the dashboard. If everything looks good, give yourself a pat on the back. You’ve successfully bypassed the hood latch sensor and reassembled your car like a pro!
Feel free to share your thoughts and experiences in the comments below. Have any tips or tricks of your own? We’d love to hear them!
Testing The Bypass
So, you’ve decided to bypass the hood latch sensor, and now it’s time to test your handiwork. Ensuring that the bypass works correctly is crucial to avoid any unforeseen issues. Testing the bypass involves a few simple steps, which we’ll break down for you. Let’s dive into the details to ensure everything is functioning as it should.
Checking Sensor Functionality
Before we get into the nitty-gritty of testing the bypass, it’s essential to understand how to check if the sensor is functioning correctly. Here’s a step-by-step guide:
- Locate the Hood Latch Sensor: The first step is to find where the sensor is located. Usually, it’s near the latch mechanism itself.
- Inspect for Damages: Check if there are any visible damages to the sensor or wiring. This could be a reason for malfunction.
- Use a Multimeter: If you have a multimeter, you can check for continuity. No continuity means the sensor might be faulty.
- Test the Signal: With the hood open and closed, check if the sensor sends a signal to the car’s computer system.
If the sensor isn’t functioning properly, it could affect the bypass. So, ensure it’s in working order before moving forward.
Troubleshooting Common Issues
Encountering issues while testing the bypass is not uncommon. Here are some common problems and how to troubleshoot them:
- Bypass Not Working: Double-check all connections. Ensure that the wires are securely connected and there are no loose ends.
- Sensor Alerts Persist: If the car still indicates that the hood is open, the bypass might not be correctly installed. Review the installation steps and try again.
- Intermittent Issues: Sometimes, the bypass works intermittently. This could be due to a poor connection or a faulty sensor. Inspect and rectify any loose connections.
It’s essential to address these issues promptly to ensure the bypass works seamlessly.
Testing the bypass is a critical step in ensuring everything runs smoothly. By following these guidelines, you can troubleshoot and rectify any issues that arise. Remember, patience and precision are key to a successful bypass test.
Frequently Asked Questions
Why Does My Car Say The Hood Is Open When It’s Not?
A faulty hood sensor or a loose connection often causes this issue. Check the sensor and wiring for damage.
Where Is The Hood Latch Sensor Located?
The hood latch sensor is located near the hood latch mechanism. It’s typically found at the front of the engine bay.
What Is The Function Of The Hood Sensor?
The hood sensor detects if the vehicle’s hood is open or closed. It enhances safety and security by alerting the driver.
What Is A Defective Hood Latch Sensor?
A defective hood latch sensor fails to accurately detect the hood’s status, causing warning lights or security issues.
Conclusion
Bypassing a hood latch sensor can be tricky but doable. Follow these steps carefully. Ensure your safety throughout the process. Proper tools and patience are key. Regular maintenance helps avoid such issues. Always consult a professional if unsure. This guide aims to help with simple solutions.
Happy fixing!