Ford Sync Update: Complete Step-by-Step Guide (2026)
If your Ford’s touchscreen feels sluggish, your Bluetooth keeps dropping, or you just want to make sure you’re running the latest software, you’re in the right place. A Ford Sync update is one of the most impactful — and most overlooked — maintenance tasks a Ford owner can do. And yet, for a process that Ford offers completely free of charge, it trips up thousands of owners every year.
This guide cuts through the confusion. Whether you drive a 2009 F-150 with the original Sync system or a 2025 Bronco with Sync 4, you’ll find the exact steps for your vehicle here — including the USB format that most guides get wrong, the crucial “Report the Installation” step that most people skip, and a troubleshooting section that decodes the most frustrating error codes by name.
Here’s what this guide covers:
- How to identify your Sync version in 60 seconds
- The right USB format for your generation (this single mistake causes 80% of failures)
- Step-by-step USB update for Sync 1, 2, and 3
- Wi-Fi / OTA update instructions for Sync 3 and Sync 4
- How to fix USB Not Recognized, Installation Failed, and the most common error codes
- When and how to perform a Ford Sync Master Reset
Why Your Ford Sync System Needs Regular Updates
Ford regularly releases software updates for all active Sync generations. Skipping them isn’t just leaving features on the table — it can actively degrade your driving experience. Here’s what a current ford sync update delivers:
Bug fixes and stability improvements. Each update patches known issues: Bluetooth connectivity drops, touchscreen freezes, unresponsive voice commands, and Apple CarPlay / Android Auto disconnects. Many owners find that an update resolves problems they’ve been living with for months.
New features without buying a new car. Ford has used software updates to retroactively add enhanced voice commands, improved app integrations, and refined UI layouts. Your vehicle can genuinely get better over time.
Security patches. As vehicles become more connected through FordPass and hotspot features, software vulnerabilities become real risks. Updates close those gaps.
Smartphone compatibility. iOS and Android OS updates frequently change how CarPlay and Android Auto communicate with vehicle hardware. A Sync update keeps that handshake working.
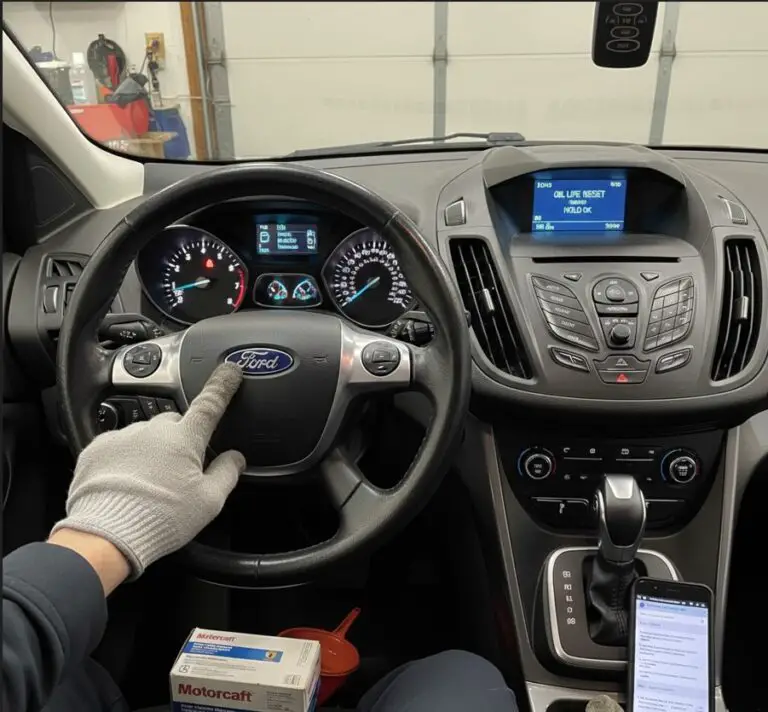
Step 1: Identify Your Ford Sync Version
The update process — including the files you download and the USB format you use — depends entirely on which Sync generation is installed. Getting this wrong is the fastest path to a failed update.
Method 1: Check through the touchscreen menu
For Sync 3 and Sync 4/4A: Navigate to Settings → General → About Sync. Your current software version and build number will be displayed.
For Sync 2 (MyFord Touch): Press the Settings icon (two gears), select Help, then tap System Information. Look for the line labeled “CCPU S/W Version”.
For Sync 1 (non-touch display): Press the Phone button, use the arrow keys to scroll to Advanced, press OK, then navigate to System Info. Look for the FPN (Ford Part Number).
Method 2: Use your VIN (fastest and most reliable)
- Locate your 17-digit VIN on the driver’s side dashboard (visible through the windshield) or on the driver’s door jamb sticker.
- Visit ford.com/support/software-updates.
- Enter your VIN and click Search.
The site will tell you exactly which Sync generation you have and whether an update is available. This method is foolproof and is the official starting point for downloading your update files anyway.
Ford Sync Versions at a Glance
The interactive comparison chart above shows all four generations side by side — including which update method applies to each. Reference it before proceeding.
Step 2: Preparing for a Successful Sync Update
A failed update is almost always caused by something in the preparation phase, not the installation itself. Run through this checklist before you begin.
USB drive requirements (critical):
- Sync 3: USB drive formatted to exFAT, 8GB–32GB capacity, USB 2.0 or 3.0. Must NOT be password-protected.
- Sync 1 and Sync 2 (MyFord Touch): USB drive formatted to FAT32, 4GB–32GB capacity.
- The drive must use MBR (Master Boot Record) partition style, not GPT. Most modern drives ship as GPT by default — see the troubleshooting section below if your vehicle doesn’t recognize the drive.
- The drive must be completely empty before copying update files.
Vehicle requirements:
- Engine must be running (not in Accessory mode) for the entire duration of the update.
- If your vehicle has an Automatic Engine Shut-Off feature, disable it before starting. Access this via Settings → Vehicle → disable 30-minute max idle on the touchscreen, or through the instrument cluster controls.
- Park in a well-ventilated area (if in a garage, open the door).
- Battery must be at a sufficient charge level — do not attempt an update if a low battery warning is active.
Computer requirements:
- Use Google Chrome or Microsoft Edge to download from ford.com/support.
- Download the update file to your hard drive first — do not download directly to the USB drive.
- Use the built-in Windows extractor or macOS extractor to unzip files. Avoid third-party tools like WinRAR, as they can occasionally alter the file structure.
Step 3: Download the Official Ford Sync Update Files
- Open ford.com/support/software-updates in Chrome or Edge.
- Enter your VIN and click Search.
- If an update is available, you’ll see a “SYNC Update Available” notification. Click it.
- Select USB Drive as your installation method.
- Click Download Update once. Save the
.zipfile to your computer’s Downloads or Desktop folder — not directly to the USB drive.
Step 4: How to Update Ford Sync with a USB Drive
This is the primary method for Sync 1, Sync 2, and Sync 3. It’s a four-step process: format, prepare, install, report.
Format the USB Drive
On Windows:
- Insert the USB drive into your computer.
- Open File Explorer and locate the drive.
- Right-click the drive → select Format.
- Under File System, select exFAT (for Sync 3) or FAT32 (for Sync 1/2).
- Check Quick Format and click Start.
On Mac:
- Open Disk Utility (Applications → Utilities).
- Select your USB drive from the left panel.
- Click Erase, choose ExFAT or MS-DOS (FAT) as the format, and click Erase.
Transfer the Update Files to the USB
- Locate the
.zipfile you downloaded (e.g.,ABCD-12E346-FGH.zip). The exact name will vary. - Right-click the
.zipfile and select Extract All. - Open the extracted folder. You should see three files inside:
- A folder named
SyncMyRide - A file named
autoinstall.lst - A file named
DONTINDX.MSA(this file tells the system not to index the update files as music — do not delete it)
- A folder named
- Select all three items (click the top one, hold Shift, click the last one).
- Copy and paste — or drag — them directly to the root directory of the USB drive. This means they appear at the top level when you open the USB drive, not inside any subfolder.
- Safely eject the USB drive from your computer.
In-Vehicle Installation
- Start your vehicle’s engine. Make sure it is in Park (P) and will remain running.
- Disable the Automatic Engine Shut-Off if your vehicle has it (Settings → Vehicle → 30-minute max idle).
- Plug the USB drive into the front USB data port — not a rear port, which is typically charge-only.
- Wait up to 5 minutes. The screen may go dark or show no activity. Do not remove the drive. The system is verifying cryptographic signatures on your files.
- A banner at the top of the screen reading “Updating System Software…” will appear. The installation has begun.
- Do not remove the USB drive or turn off the vehicle while the update is in progress. The screen may go black and reboot several times — this is normal.
- Installation typically takes 20–45 minutes for system updates. Navigation map updates can take up to 2 hours.
- When the screen displays “Installation Complete,” you may safely remove the USB drive.
- Turn off the vehicle, open the driver’s door, and wait approximately 2 minutes for the system to fully shut down. Then restart the vehicle.
Report the Installation to Ford (Do Not Skip This Step)
This step surprises most owners, but it is essential. During installation, your vehicle writes an XML log file back to your USB drive. You must upload this file to Ford’s servers to confirm the update. If you skip it, Ford’s system still shows you as running the old software version, which can block future updates.
For Sync 3 vehicles with touchscreen Wi-Fi:
- With the vehicle running, connect to your home Wi-Fi network via Settings → Wi-Fi.
- Navigate to Settings → Automatic System Updates and toggle Automatic Updates ON.
- Select “Scan for Updates Now.”
- Wait 2 minutes, then scan again to confirm the report was received.
For Sync 1, Sync 2, and Sync 3 vehicles without Wi-Fi:
- Return to your computer and re-connect the USB drive.
- Go back to ford.com/support/software-updates in your browser.
- Click “Browse for log file.”
- Select the
.xmlfile that was added to your USB drive during installation (it will contain your VIN in the filename). - Click Select to upload and confirm.
Step 5: Updating Ford Sync Wirelessly (Over-the-Air)
Sync 4 and Sync 4A: Ford Power-Up (Fully Automatic)
Sync 4 owners have the simplest experience. Ford’s “Power-Up” system handles updates automatically over the vehicle’s built-in cellular connection or Wi-Fi.
- Navigate to Settings → System Updates on your SYNC screen.
- Confirm that Automatic Updates is toggled ON.
- For faster downloads, connect to your home Wi-Fi network (Settings → Wi-Fi).
- Set an update schedule — for example, 2:00 AM daily — so installations happen while the vehicle is parked and not in use.
- Monitor update status at any time in the System Updates menu, or via the FordPass App, which sends push notifications when an update is available, in progress, or complete.
Sync 3: Wi-Fi Update
The Wi-Fi update option is available on most Sync 3 systems but is not supported on some 2016 and 2017 model year vehicles, which must use the USB method.
- Connect to your home Wi-Fi network via Settings → Wi-Fi → View Available Networks.
- Navigate to Settings → General → Automatic System Updates and turn it ON.
- Tap “Scan for Updates Now” to check immediately.
- If an update is found, the system will begin downloading in the background. Download time can range from 35 minutes to several hours depending on file size and network speed.
- You can drive during the download phase, but the installation step may require the vehicle to be parked.
Troubleshooting: How to Fix Common Ford Sync Update Problems
Most update failures fall into a small number of categories. Work through these solutions before calling a dealer.
The Sync System Doesn’t Recognize the USB
This is the most common complaint, and it almost always comes down to one of these causes:
Wrong file system format. Verify the USB is formatted to exFAT for Sync 3, or FAT32 for Sync 1 and 2. A drive formatted to NTFS will never be recognized, regardless of its contents.
Wrong partition style (MBR vs. GPT). Modern large-capacity USB drives default to the GPT partition scheme. However, Ford’s Sync hardware requires MBR (Master Boot Record). To fix this on a Windows PC: open Disk Management (search in Start menu), right-click the USB volume, select Delete Volume, then right-click the disk itself, select Convert to MBR Disk, and reformat to exFAT or FAT32.
Files are not at the root level. Open the USB drive and confirm that SyncMyRide, autoinstall.lst, and DONTINDX.MSA appear immediately — not inside a subfolder.
Using a rear USB port. Rear ports on most Ford vehicles are charge-only. Always use the front USB data port.
Installation Failed or Stopped Mid-Progress
If the installation bar freezes for more than 30 minutes without progressing, or if you receive a specific error code:
Perform a Key Cycle. This is not the same as simply turning the car off. To properly key cycle:
- Turn the vehicle completely off.
- Open the driver’s door.
- Lock the door using the power lock button.
- Close the door.
- Wait at least 2 full minutes until the SYNC screen and instrument cluster go completely dark.
- Restart the vehicle.
Common Sync Error Codes and Fixes:
| Error Code | What It Means | Fix |
|---|---|---|
| LST_ERR05 | Missing or invalid license file | Re-download the update from Ford’s site. Verify the map license key file (must stay zipped) is inside the SyncMyRide folder. |
| BGMAP_ERR01 | Background map install error | Remove the USB drive after Stage 1 completes. Perform a key cycle to finalize Stage 1, then re-insert for Stage 2. |
| MEM_ERR03 | Insufficient system memory or corrupt files | Perform a Master Reset (Settings → General → Master Reset), then reformat the USB and re-download the update. |
| PKG_ERR03 | Corrupted download or file transfer | Delete all files, reformat USB using MBR/exFAT, re-download over a stable wired internet connection. |
| INST_ERR14 | Pending application activation | Perform a key cycle. The system will finalize activation on reboot. |
| VER_ERR06 | Version mismatch after APIM replacement | Dealer visit required. Ford technicians must update the vehicle’s As-Built configuration data. |
The Ultimate Fix: Performing a Ford Sync Master Reset
A Master Reset is the most powerful tool available to you as an owner. It wipes the Sync system back to factory defaults, clearing corrupted cache data, failed partial installs, and problematic settings that no other fix can address.
When to use it:
- A USB update fails repeatedly despite correct preparation
- The system freezes, loops, or behaves erratically after an update
- Bluetooth stops working after a successful update
- You receive MEM_ERR03
How to perform a Ford Sync Master Reset:
- Navigate to Settings → General → Master Reset.
- Confirm when prompted.
- The system will reboot and restore factory defaults.
Post-update Bluetooth issues: If your phone won’t reconnect after a successful update, follow this sequence: (1) Toggle Bluetooth off and on on your phone. (2) Forget the connection on both the phone (Bluetooth settings → Forget Device) and in Sync (phone list → delete). (3) Soft-reset your phone. (4) Re-pair as a new connection. (5) If all else fails, perform a Master Reset.
Conclusion
Keeping your Ford Sync software current is one of the highest-return, lowest-cost maintenance tasks available to you as a Ford owner. The update is free, and for Sync 4 owners, it happens automatically in the background.
For Sync 3 and older systems, the USB method is reliable when you follow the preparation steps precisely — particularly the file format, partition style, and file placement. The single most important steps most guides leave out: disabling auto engine shut-off before you start, and reporting the installation to Ford after you finish.
Bookmark this page for your next update. If you run into a specific error code not listed above, drop it in the comments and we’ll add it to the troubleshooting table.
FAQs
How much does a Ford Sync update cost?
The software update itself is free from ford.com. Navigation map updates are a separate, paid product. Dealer-performed updates typically carry a labor fee of $150–$300+.
How long does a Ford Sync update take?
USB system updates: 20–45 minutes. Major version upgrades or map updates: 60–90 minutes or longer. Sync 4 Power-Up OTA updates are typically faster and run in the background.
Can I upgrade from Sync 2 to Sync 3?
No — these generations require completely different hardware (different APIM modules, different touchscreen technology). You cannot upgrade between major generations via software. A physical hardware swap is required.
Will a Sync update erase my settings?
Standard updates preserve your settings. A Master Reset (used as a troubleshooting step) will erase all personal data.
What is the difference between a Sync update and a map update?
A Sync update upgrades the core operating software — interface, features, voice commands, app connectivity. A map update only refreshes the navigation data (roads, POIs, speed limits). They are separate files with separate download sizes and installation times.