Cummins ISX Engine Brake Solenoid Location: Complete Guide & Troubleshooting
When you’re barreling down a steep grade with a heavy load and suddenly realize your engine brake isn’t kicking in like it should, knowing the Cummins ISX engine brake solenoid location can be the difference between a simple roadside fix and an expensive tow. After spending more than 20 years working on these powerplants, I can tell you that finding and servicing this critical component isn’t always straightforward – but with the right guidance, even novice owners can tackle this job. Whether you’re troubleshooting intermittent engine brake operation or performing preventative maintenance, this comprehensive guide will walk you through everything you need to know.
Understanding the Cummins ISX Engine Brake System
Before diving into the specific location of the solenoid, let’s make sure we understand what we’re looking for and why it matters to your truck’s performance.
How the Engine Brake Works
The engine brake (commonly called a “Jake Brake” after the Jacobs brand, though Cummins uses its own system) essentially converts your diesel engine from a power producer into a power absorber. Here’s a simplified explanation of how it works:
- When activated, the system opens exhaust valves near the end of the compression stroke
- This releases the compressed air that would otherwise push the piston down
- The engine must work to compress the air but gets no power return
- This creates a powerful braking effect without using your wheel brakes
The beauty of engine braking is that it saves your service brakes for emergencies and significantly reduces brake maintenance costs. For a fully-loaded truck, engine brakes can reduce stopping distances by up to 30% when used in conjunction with service brakes.
The Role of the Solenoid
The solenoid is essentially the gatekeeper of your engine brake system. When you flip that dash switch to activate your engine brake:
- An electrical signal is sent to the solenoid(s)
- The solenoid(s) open to allow oil pressure to flow
- This oil pressure activates the engine brake mechanism
- Your engine transforms from power maker to powerful brake
Important note: The Cummins ISX uses an electronically controlled system where the solenoid receives commands from the ECM (Engine Control Module) based on various inputs including throttle position, vehicle speed, and engine RPM.
Cummins ISX Engine Brake Solenoid Location – Detailed Guide
Now for what you came here for – the exact location of the engine brake solenoid on the Cummins ISX. This location varies somewhat across different generations of the engine, so I’ll break it down by major engine variants.
Original ISX (1998-2002) Solenoid Location
On the first-generation ISX engines, the primary engine brake solenoid is located:
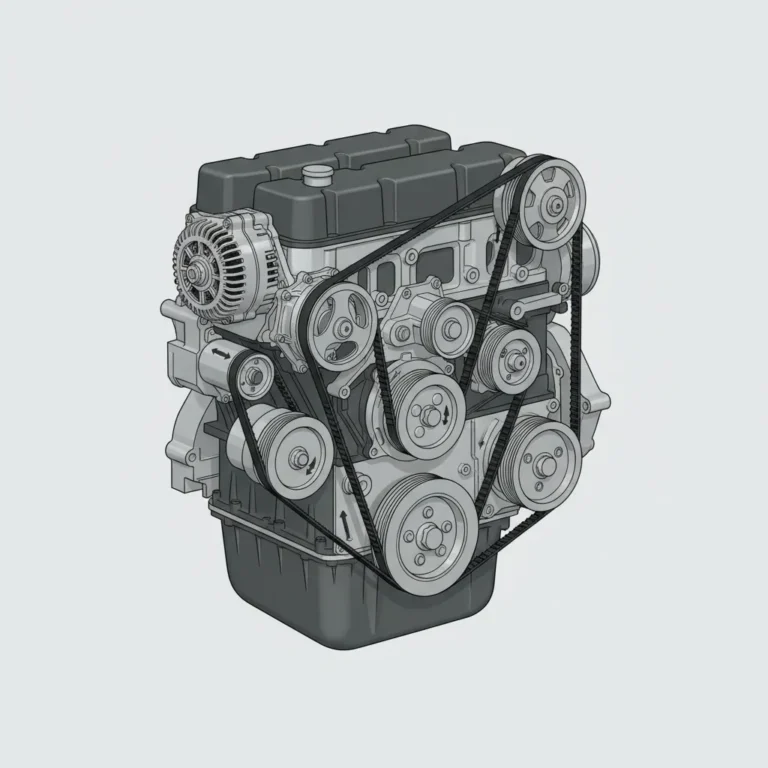
- On the driver’s side (left side) of the engine
- Near the top of the engine, on the cylinder head
- Typically between cylinders 3 and 4
- Identified by an electrical connector and hydraulic fittings
This generation generally used a single main solenoid that controlled the overall engine brake engagement, with separate internal mechanisms controlling individual cylinder operation.
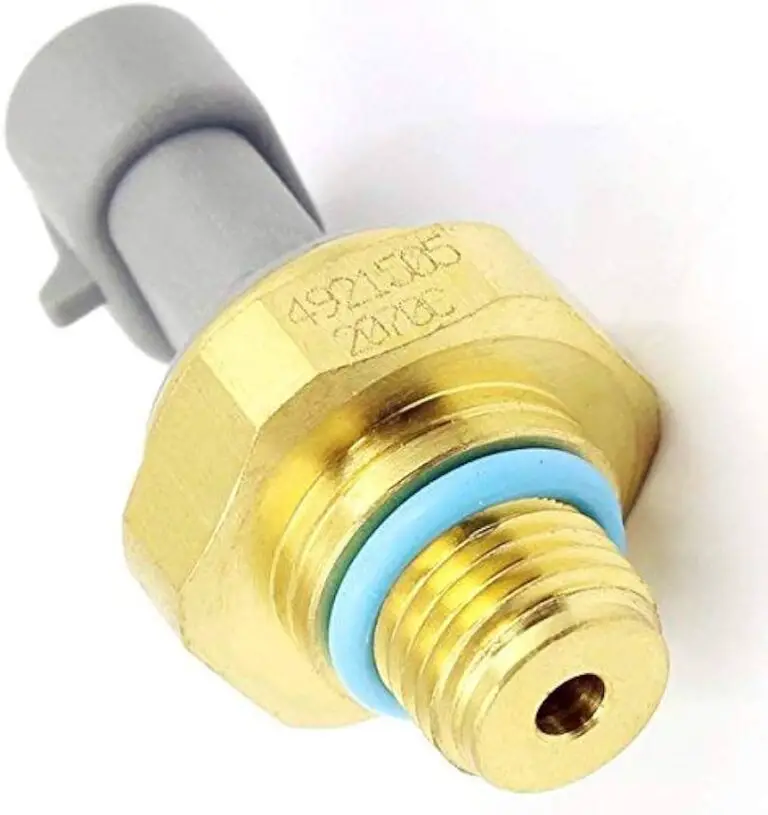
Visual identification: Look for a cylindrical component approximately 2-3 inches long with an electrical connector on one end and a metal fitting on the other.
ISX with EGR Systems (2003-2007) Solenoid Location
With the introduction of EGR (Exhaust Gas Recirculation) systems on the ISX, Cummins made some changes to the engine brake system:
- The primary solenoid remained on the driver’s side
- However, it was relocated slightly rearward (toward the firewall)
- Often positioned near the EGR valve
- In some configurations, additional solenoids were added for multi-stage braking
From experience: On these models, the solenoid can be partially obscured by EGR components and cooling lines, making it more challenging to spot at first glance.
Later ISX15/X15 Models (2008-Present)
The most current generation of ISX engines (later rebranded as X15) features a more sophisticated system:
- The primary brake control solenoid is located on the driver’s side
- Typically mounted on a housing near the front of the valve cover
- More accessible compared to earlier generations
- Often part of a multi-solenoid assembly for progressive braking control
Real-world insight: On these newer models, Cummins improved the design for better serviceability. The solenoid is generally easier to access and replace compared to earlier generations.
Key Identification Features
Regardless of the specific model year, here’s how to identify the engine brake solenoid:
- Cylindrical body approximately 2-3 inches long and 1 inch in diameter
- Electrical connector (usually 2-pin) on one end
- Typically features a mounting bracket or bolts
- Often has hydraulic fittings connected to oil supply lines
- May have “Cummins” or part number stamped on the body
Pro tip from experience: If you’re having trouble locating the solenoid, follow the wiring harness from the engine brake dash switch connection point. It will eventually lead you to the solenoid.
Evolution of Solenoid Location Across ISX Generations
Understanding how and why the Cummins ISX engine brake solenoid location has changed over time helps make sense of the current design:
| ISX Generation | Solenoid Location | Design Features | Number of Solenoids |
|---|---|---|---|
| 1998-2002 | Driver side, mid-cylinder head | Basic on/off system | Usually 1 main solenoid |
| 2003-2007 | Driver side, rear cylinder head | Integrated with EGR systems | 1-2 solenoids |
| 2008-2013 | Driver side, front valve cover area | Improved accessibility | 2-3 solenoids |
| 2014-Present | Driver side, dedicated mounting | Progressive braking control | Typically 3 solenoids |
Engineering evolution: The trend has been toward more sophisticated control with multiple solenoids allowing for progressive braking (Low/Medium/High settings) rather than simple on/off functionality. This provides drivers with better control in varying conditions.
Accessing the Engine Brake Solenoid
Once you’ve located the solenoid, accessing it for testing or replacement presents its own challenges. Here’s my time-tested approach:
Tools You’ll Need:
- Basic hand tools (socket set, wrenches)
- Electrical multimeter
- Flashlight or droplight
- Shop rags
- Penetrating oil (for stubborn connections)
- Replacement solenoid if needed
- Dielectric grease
Access Steps:
- Preparation
- Ensure engine is cool before beginning work
- Disconnect batteries to prevent electrical issues
- Set parking brakes and chock wheels for safety
- Have plenty of rags handy for oil spillage
- Clearing Access
- Remove engine cover or dog house if working inside the cab
- On some truck models, you may need to remove side panels
- Carefully move any wiring harnesses or hoses that block access
- Take photos before disconnecting anything for reference during reassembly
- Specific Access Challenges By Truck Brand
Freightliner Cascadia: Generally offers the best access to the solenoid from the driver’s side engine access panel, but may require removing the silencer cover.
Peterbilt 379/389: More challenging access; sometimes easier to reach from underneath after removing splash guards.
Kenworth T660/T680: Similar to Peterbilt; often requires moving air intake components for clear access.
International ProStar: May require partial dash disassembly for proper access to wiring connections.
Pro tip from experience: When working on the engine brake system, always have plenty of shop rags available. Even after shutting down the engine, residual oil pressure in the lines can lead to spillage when disconnecting hydraulic fittings.
Testing and Diagnosing Engine Brake Solenoid Issues
Before replacing any parts, it’s wise to properly diagnose the issue. Here’s how I approach engine brake solenoid testing:
Common Symptoms of Solenoid Failure:
- Engine brake doesn’t engage at all when activated
- Intermittent operation of the engine brake
- Delayed engagement when the switch is activated
- Partial braking power (some cylinders working, others not)
- Dash light works but no braking effect is felt
- Unusual noises when the engine brake is activated
Electrical Testing Procedure:
- Resistance Check:
- Disconnect the electrical connector from the solenoid
- Using a multimeter set to ohms, measure across the solenoid terminals
- Compare to specifications (typically 20-30 ohms for most ISX solenoids)
- Significantly higher resistance or an open circuit indicates a failed solenoid
- Voltage Testing:
- Reconnect the solenoid
- With engine running and brake activated, check for voltage at the connector
- Should show battery voltage (12-14V) when brake switch is on
- No voltage suggests a wiring, switch, or ECM issue rather than solenoid
- Function Testing:
- With engine at idle, listen near the solenoid with brake on/off
- You should hear an audible “click” when the solenoid activates
- No click despite proper voltage indicates mechanical binding or failure
From the trenches: About 30% of the “failed solenoid” cases I’ve diagnosed were actually wiring issues. Check the connectors carefully for corrosion, bent pins, or damage before condemning the solenoid itself.
Diagnostic Trouble Codes to Watch For:
Modern Cummins engines will often set fault codes related to engine brake issues. Common codes include:
- 2973 – Engine Brake Actuation Pressure Circuit Failed Low
- 2974 – Engine Brake Actuation Pressure Circuit Failed High
- 187 – Engine Brake Actuator Driver #1 Circuit Failed Open
- 188 – Engine Brake Actuator Driver #1 Circuit Failed Short
Real-world diagnostic tip: If these codes appear together with ABS or stability control codes, the issue might be integration-related rather than a failed solenoid. Always check the entire system before replacing parts.
Replacement Procedures
If you’ve confirmed that your engine brake solenoid needs replacement, here’s how to tackle the job:
Step-By-Step Replacement:
- Disconnect electrical connector
- Press the locking tab and gently pull to disconnect
- Inspect connector for damage or corrosion
- Disconnect hydraulic lines
- Have catch pans and rags ready for oil spillage
- Use proper wrenches to avoid damaging fittings
- Cap lines immediately to prevent contamination
- Remove mounting hardware
- Typically 10mm or 13mm bolts secure the solenoid
- Keep track of all hardware and note orientation
- Install new solenoid
- Ensure proper orientation matches original
- Hand-start all fasteners before final tightening
- Apply appropriate torque (typically 15-20 ft-lbs)
- Reconnect hydraulic lines
- Ensure clean connections
- Tighten to specifications (usually 18-22 ft-lbs)
- Reconnect electrical
- Apply dielectric grease to connector
- Ensure connector fully seats and locks
- Testing after replacement
- Reconnect batteries
- Start engine and allow to reach operating temperature
- Test engine brake function at various RPMs
Important caution: When reinstalling hydraulic lines, be extremely careful not to cross-thread the fittings. These are precision components, and damaged threads can lead to leaks or improper operation.
Common Installation Mistakes to Avoid:
- Improper torque on mounting bolts or hydraulic fittings
- Forgetting to prime the system after replacement
- Damaged O-rings during installation
- Debris entering the hydraulic system
- Pinched wires under mounting brackets
From my repair files: I once spent hours troubleshooting an engine brake that wouldn’t work after a solenoid replacement. The issue? The installer had used the wrong O-ring from the kit, causing an internal leak that prevented proper pressure buildup. Always use the exact components specified for your engine model.
Preventative Maintenance for Engine Brake Solenoids
The best approach to solenoid issues is preventing them in the first place. Here’s my maintenance strategy for keeping your engine brake system in top condition:
Regular Inspection Points:
- Check electrical connections for corrosion or damage quarterly
- Inspect hydraulic fittings for seepage during oil changes
- Listen for unusual noises from the engine brake area
- Monitor engagement response time for changes
- Keep an eye on oil quality as contaminated oil affects solenoid life
Maintenance Interval Recommendations:
- Basic inspection: Every oil change
- Connection cleaning and dielectric grease: Annually
- Comprehensive testing: Every 100,000 miles
- Preventative replacement: Consider at 500,000 miles for high-use applications
Pro maintenance tip: Engine oil quality directly impacts solenoid life. Sludge and contamination can cause solenoid sticking or failure. Always maintain proper oil change intervals and use the recommended oil type for your ISX engine.
Real-World Experiences and Case Studies
Let me share a few notable experiences that illustrate the importance of understanding the Cummins ISX engine brake solenoid location and function:
Case Study 1: The Intermittent Failure
A fleet customer brought in a 2015 Freightliner with an ISX15 experiencing intermittent engine brake operation. The initial diagnosis pointed to a bad solenoid, which was replaced. However, the problem persisted. After thorough investigation, we discovered that heat from the nearby EGR cooler was causing the solenoid wiring harness to expand and contract, creating an intermittent connection. The solution was rerouting the harness with additional heat shielding—a simple fix that saved hundreds in unnecessary parts.
Case Study 2: The Progressive Braking Problem
An owner-operator complained that his engine brake worked, but only at full strength—no low or medium settings were functioning. The cause was two of the three solenoids being clogged with debris from contaminated oil. While only the main solenoid was working, it created enough braking for the owner to assume the system was partially functional. A full solenoid set replacement and oil system cleaning restored proper progressive braking control.
The lessons: Always perform comprehensive diagnosis rather than assuming the most obvious component is at fault, and remember that engine brake issues often relate to the overall oil system health.
OEM vs. Aftermarket Solenoid Options
When replacing solenoids, you have several options to consider:
Comparison of Replacement Options:
| Option | Pros | Cons | Price Range |
|---|---|---|---|
| Genuine Cummins | Perfect fit, highest quality, full warranty | Highest cost, sometimes limited availability | $150-250 per solenoid |
| OE Supplier (Bosch, etc.) | Same manufacturer as OEM in many cases, good quality | Slightly less warranty coverage | $100-180 per solenoid |
| Quality Aftermarket | Significant cost savings, widely available | Variable quality, may have shorter lifespan | $60-120 per solenoid |
| Economy Brands | Lowest initial cost | Inconsistent quality, high failure rate | $30-70 per solenoid |
My recommendation: For a truck you depend on professionally, I strongly suggest either genuine Cummins or OE supplier parts. The price difference is relatively small compared to the labor involved in replacement, and the reliability difference is significant. I’ve seen too many economy solenoids fail within 50,000 miles to recommend them for anything but temporary fixes.
Integration with Truck Control Systems
The engine brake system interfaces with several other vehicle systems, which affects how and when the solenoids activate:
Key System Interactions:
- Cruise Control Integration
- Engine brake may automatically activate to maintain downhill speed
- Engagement level varies based on speed differential
- Some systems allow customization of activation thresholds
- ABS/Stability Control Coordination
- Many newer trucks temporarily reduce engine brake force during ABS events
- Prevents wheel lockup or trailer instability
- This integration requires proper communication between systems
- Transmission Communication
- In automated manual transmissions, engine brake timing coordinates with shifts
- Improves shift quality and reduces driveline stress
- Requires proper calibration between engine and transmission control modules
Real-world insight: On newer trucks with integrated powertrain control, a “solenoid problem” might actually be a communication issue between control modules. Always check for multiple system fault codes before focusing solely on the engine brake components.
Performance Enhancement Considerations
For those looking to maximize their engine brake performance, here are some key points to consider:
Factors Affecting Engine Brake Performance:
- Engine RPM – Higher RPM equals stronger braking force
- Oil pressure and temperature – Affects solenoid response time
- Valve adjustments – Critical for proper brake operation
- Altitude – Engine brakes are less effective at higher elevations
- Exhaust backpressure – Can significantly impact braking power
Performance Enhancement Options:
- Ensure proper valve adjustments
- Critical for maximum braking performance
- Should be checked at regular intervals (typically every 150,000 miles)
- Maintain optimal oil pressure
- Keeps solenoid response quick and consistent
- Replace pressure regulator if necessary
- Consider compression release timing adjustments
- Some shops offer custom timing for improved brake performance
- May affect emissions compliance; research carefully
Performance perspective: I’ve found that simply maintaining proper valve adjustments can increase engine brake efficiency by 15-25% on high-mileage trucks. This regular maintenance item is often overlooked but makes a tremendous difference in real-world braking power.
Special Considerations for Fleet Operators
If you manage multiple trucks with ISX engines, here are some fleet-specific recommendations:
Fleet Maintenance Approach:
- Develop a standardized testing procedure
- Create a step-by-step checklist for technicians
- Include both electrical and mechanical tests
- Document baseline performance when trucks are new
- Consider preventative replacement programs
- For trucks operating in severe conditions (mountains, heavy loads)
- Usually cost-effective around 400,000-500,000 miles
- Can be scheduled with other major maintenance to reduce downtime
- Driver training
- Educate drivers on proper engine brake usage
- Teach them to recognize and report symptoms early
- Emphasize the cost benefits of early detection
Fleet manager insight: In our analysis of fleet maintenance costs, we found that proactive engine brake maintenance saved approximately $0.015 per mile in overall operating costs compared to reactive repairs. This came from reduced downtime, lower towing expenses, and extended service brake life.
Troubleshooting Beyond the Solenoid
Sometimes, what appears to be a solenoid issue might actually be caused by other components. Here’s what to check before replacing solenoids:
Additional Troubleshooting Areas:
- Dash Switch and Wiring
- Test continuity from dash switch to ECM
- Check for damaged wires, especially near flex points
- Verify proper ground connections
- ECM Issues
- Check for software updates related to engine brake operation
- Verify proper engine brake enabling in ECM parameters
- Test ECM output signals when brake is activated
- Oil System Problems
- Low oil pressure can prevent proper solenoid function
- Clogged oil passages reduce brake effectiveness
- Oil quality issues can cause solenoid sticking
- Valve Train Concerns
- Excessive valve lash prevents proper brake operation
- Worn components reduce braking effectiveness
- Injector problems can interfere with proper timing
From the service bay: I once diagnosed an “engine brake failure” that had stumped three previous shops. The actual cause? A tiny crack in the oil galley that fed the brake solenoid, causing pressure loss only under specific conditions. Sometimes the problem isn’t where you first look.
Conclusion
Understanding the Cummins ISX engine brake solenoid location and function is essential for anyone who operates or maintains these popular engines. Whether you’re troubleshooting intermittent operation, performing preventative maintenance, or simply wanting to understand how your engine brake works, knowing where to find these critical components is the first step.
Remember these key points:
- The solenoids are typically located on the driver’s side of the engine
- Exact positioning varies by generation but is generally on or near the cylinder head
- Proper diagnosis should precede any parts replacement
- Quality replacement parts pay dividends in reliability
- Regular maintenance prevents most solenoid-related issues
For owner-operators and fleet mechanics alike, the engine brake system represents one of the most valuable yet often overlooked systems on your truck. A properly functioning engine brake not only improves safety but also significantly reduces service brake wear and overall operating costs.
Whether you’re navigating mountain passes, managing heavy loads, or simply extending the life of your brake components, paying attention to these solenoids is well worth the effort.
Frequently Asked Questions
Can I drive with a faulty engine brake solenoid?
Yes, you can operate the truck safely, but you’ll lose the benefit of engine braking. This means relying solely on service brakes for deceleration, which increases wear and potential for overheating, especially on downgrades. For safety reasons, I recommend getting it fixed promptly, particularly if you operate in mountainous regions.
How much does it typically cost to replace an engine brake solenoid?
For professional replacement:
- Parts: $150-250 per solenoid (OEM)
- Labor: $200-400 depending on accessibility and shop rates
- Total: $350-650 for a single solenoid replacement
DIY costs would be limited to parts and any specialized tools needed.
Will a bad solenoid throw a check engine light?
On newer ISX engines (especially 2007 and newer), yes, a malfunctioning solenoid will typically trigger a fault code and may illuminate the check engine light. However, older models might not directly trigger a CEL for solenoid issues, though they often will set retrievable codes that can be read with a scanner.
How can I test my engine brake without special tools?
A basic functional test:
- Warm up the engine to operating temperature
- Find a clear, straight stretch of road
- Activate the engine brake while in gear
- Release the accelerator and note the deceleration
- You should feel a significant drag and hear a distinct sound
- Try different levels (if equipped) to ensure all stages work
If you notice weak performance or inconsistent operation, further diagnosis is needed.
Does the engine brake solenoid affect fuel economy?
Not directly when inactive. However, if a solenoid fails in the “on” position (rare but possible), it could create drag that reduces fuel economy. More commonly, drivers without functioning engine brakes tend to use service brakes more frequently, leading to more fuel-consuming acceleration cycles.
Can extreme cold affect engine brake solenoid function?
Absolutely. Cold temperatures increase oil viscosity, which can slow solenoid response or prevent proper operation until the engine reaches operating temperature. If you operate in extremely cold environments, allow for longer warm-up periods before expecting full engine brake functionality.
Should I replace all solenoids at once if one fails?
For newer ISX engines with multiple solenoids for progressive braking, I generally recommend replacing them as a set if one fails after high mileage (300,000+ miles). They typically experience similar wear, and replacing them all at once saves on labor costs compared to multiple separate repairs. For lower mileage engines, replacing just the failed component is usually sufficient.