Ford Radius Arm Bushing Diagram
If you’re looking for a Ford radius arm bushing diagram, you’ve come to the right place. At FordPartsGiant.com, we have a wide selection of diagrams to choose from. Whether you need a replacement bushing or are just doing some routine maintenance, we have the diagram you need to get the job done right.
Ourradius arm bushing diagrams are available for both front and rear applications. Just select your vehicle’s year, make and model from the drop-down menus and we’ll show you the diagram that matches your specific vehicle. Once you find the diagram you need, simply click on it to enlarge it for easy viewing.
If you’re looking for a Ford radius arm bushing diagram, there are a few places you can find one. The best place to start is by searching the internet. There are a number of websites that offer free diagrams, and many of them will have the exact diagram you need.
Another option is to check your local library. If they don’t have a specific diagram for your make and model of car, they may have general car diagrams that will show you where the radius arm bushing is located.
You can also try asking your friends or family if they know where to find a Ford radius arm bushing diagram.
Chances are someone will know where to find one, and they may even be able to give you a copy of their own diagram.
Finally, if all else fails, you can always contact a Ford dealer or service center and ask for a copy of theradius arm bushing diagram. They should be able to help you out, and they may even have the part in stock so you don’t have to order it from elsewhere.
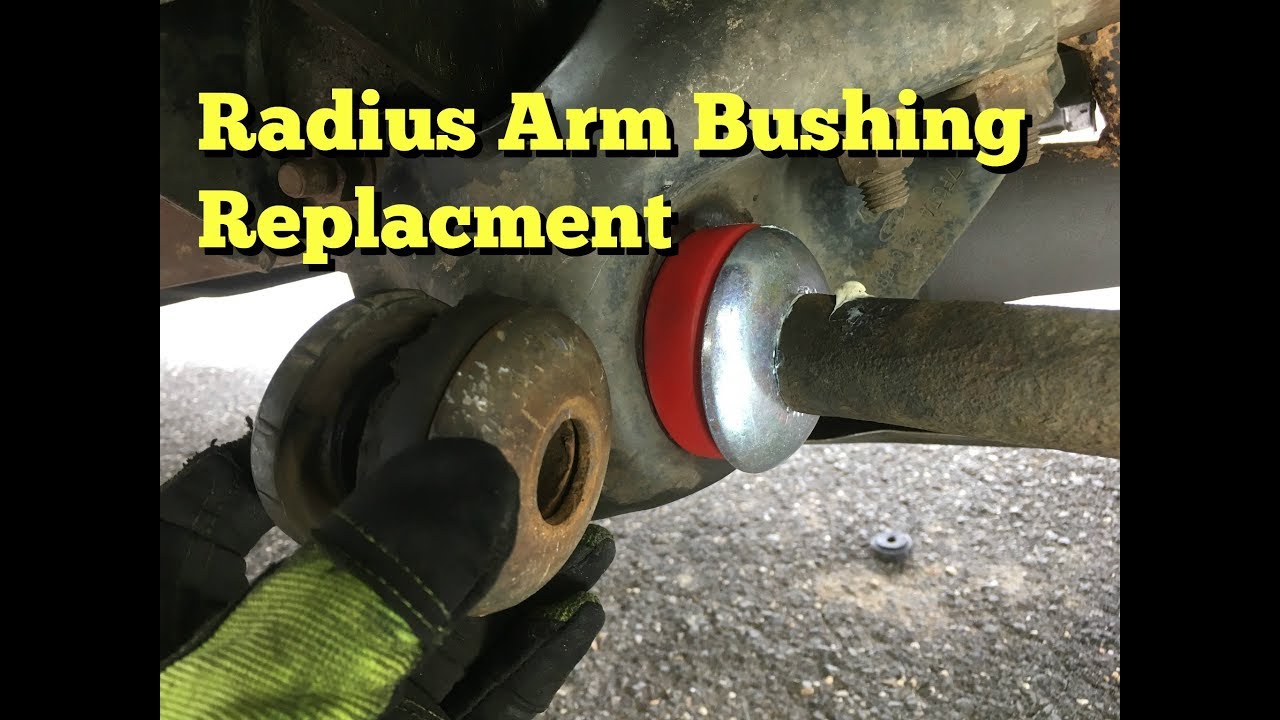
Credit: www.youtube.com
How Do You Change the Radius Arm Bushings on a Ford Ranger?
If you’re looking to change the radius arm bushings on your Ford Ranger, there are a few things you’ll need to know. The radius arm is what connects the wheel to the suspension, and the bushings are what allow it to move freely. Over time, these bushings can wear down and need to be replaced.
Here’s a quick guide on how to do just that:
1. Jack up your Ranger and remove the wheels. This will give you better access to the arms.
2. Using a pry bar, disconnect the ball joint from the knuckle. You may need a pickle fork for this step as well.
3. Once the ball joint is disconnected, remove the bolts that hold the radius arm in place.
There are usually two bolts – one at the top and one at the bottom of the arm.
4. With those bolts removed, you should be able to pull out the old bushing sleeve (it may be held in place by a rubber boot). At this point, you can also inspect your control arm for any wear or damage – if it looks good, re-use it!
Otherwise, you’ll need to get a new one from your local parts store or Ford dealership.
5 grease up your new bushing sleeve (this will help reduce noise) and slide it into place over top of your control arm. Make sure everything is aligned correctly before moving on to step 6!
If everything looks good so far… …it’s time to install your new radius arm bushing! Start by greasing up both sides ofthe bushing (this will help reduce noise) and sliding it into place over top ofyour control arm . Make sure everything is aligned correctly before movingon to step 7!
Now all that’s leftto do is re-install yourradiusarm usingthe same processin reverse order ! JackupyourRanger , bolt inthecontrolarm , connecttheballjoint ,and lowerbackdown tot he ground .Repeat thisprocessfor eachsideandyou’reall done !
How Do You Measure Arm Bushing Radius?
Assuming you would like to know how to measure an arm bushing radius for the purpose of replacing it:
To accurately measure the radius of an arm bushing, you will need a few tools. First, you will need a measuring tape.
Second, you will need either a set of calipers or a micrometer. Third, you will need a piece of paper and a pencil to record your measurements.
First, find the center point of the bushing.
To do this, measure the width and length of the bushing with your measuring tape. Once you have these two dimensions, divide each by two to find the center point. For example, if the width of the bushing is 2 inches and the length is 4 inches, then the center point would be at 1 inch from each side (2/2=1 and 4/2=2).
Next, use your calipers or micrometer to measure the radius at several points around the circumference of the bushing. Be sure to take multiple measurements at different points as Bushes can be oval shaped and not perfectly round. Record all of your measurements on your piece of paper so that you can average them later on.
Finally, take all of your recorded measurements and find their mean (average). This number will be very close to true radius measurement for most bushes.
How Much Does It Cost to Replace Bushings?
If your car’s suspension system isn’t working properly, it could be due to worn-out bushings. But how much does it cost to replace bushings?
The cost of replacing bushings will depend on the type of vehicle you have and the extent of the damage.
For instance, if only one bushing needs to be replaced, it will likely cost less than if multiple bushings need to be replaced. Additionally, the labor costs associated with replacing bushings can vary depending on the mechanic and location.
Generally speaking, you can expect to pay anywhere from $100 to $400+ for replacing bushings.
However, if you DIY (do it yourself), you can purchase replacement bushings for as little as $20-$50. Of course, doing the work yourself will also require some time and effort.
If your car’s suspension isn’t working properly, don’t delay in getting it fixed.
Worn-out bushings can lead to a number of problems including decreased handling and control while driving. So if you think your car might need new bushings, take it to a mechanic and get a quote on the repair costs.
How Much Does It Cost to Replace Radius Arm Bushings?
Assuming you would like an estimate for the cost to replace radius arm bushings on a car:
The cost of replacing radius arm bushings will depend on the make and model of your car as well as the labor costs at the auto shop. On average, you can expect to pay between $200 and $400 for this repair.
If you need to have both front and rear bushings replaced, it will likely cost closer to $400. The front bushings are usually larger and more expensive than the rear ones. Additionally, if your car has electronic stability control (ESC), there may be additional sensors that need to be recalibrated after the work is done, which can add to the overall cost.
You can save some money by doing this repair yourself, but it is not recommended unless you have experience with automotive repairs. If you choose to do it yourself, you’ll need to purchase a bushing removal/installation tool and rent or buy a press. The total cost of parts and tools will be about $100-$150, plus any additional fees for renting or borrowing tools.
Radius Arm Bushing Replacement Ford E and F Series
Ford F250 Radius Arm Bushing Replacement
The Ford F250 is a large truck that is known for its towing and hauling capabilities. The radius arm bushing is a key component of the suspension system, and it helps to keep the wheels in alignment. Over time, the bushing can wear out, causing the suspension to become less effective.
When this happens, it’s important to replace the bushing so that your truck can continue to perform at its best.
There are two main types of radius arm bushings: upper and lower. The upper bushing is located at the top of the radius arm, while the lower bushing is located at the bottom.
To replace either type of bushing, you’ll need to remove the old one and install a new one in its place.
Upper Bushing Replacement:
1. Jack up your truck and support it on jack stands.
Do not work on your truck while it is supported by only a jack!
2. Remove the tire and wheel assembly from the affected side of the truck.
3. Disconnect the sway bar end link from the radius arm using an appropriate size wrench or socket.
4. Using a pry bar or similar tool, separate the ball joint stud fromthe knuckle . You may need to strikethe pry bar with a hammerto loosen things up . Be careful not tot damage any other components .5 Unbolt and removethe nutand washerfromthe topofradiusarm bolt ,thenremovetheboltitself 6 Withdrawtheupperbushing( stillattachedtotheradiusarm)outoftheknuckle 7 Driveorpressouttheoldbushingfromtheradiusarm 8 Installthenewbushingintotheradiusarm 9 Replaceandtightenthenutandwasherontopofradiusarmbolt 10 Reinstallballjointstudintoknuckle 11 Reconnectswaybar endlink 12 Reinstalltireandwheelassembly
2012 F250 Radius Arm Bushing Replacement
If you have a 2012 F250 with radius arm bushings that are in need of replacement, there are a few things you need to know. The first is that there are two different types of radius arm bushings – those that connect the radius arm to the frame, and those that connect the radius arm to the axle. You’ll need to replace both types of bushings in order to restore proper suspension function.
The second thing to know is that, depending on which type of bushing you’re replacing, the process can be either relatively simple or quite involved. Replacing the bushings that connect the radius arm to the frame is a fairly straightforward job that most do-it-yourselfers can handle. However, replacing the bushings that connect the radius arm to the axle requires removing and disassembling parts of the suspension, so it’s best left to a professional unless you’re confident in your mechanical skills.
Whichever type of bushing you’re replacing, always use high-quality aftermarket parts – never skimp on this repair by using inferior OEM or generic parts. With quality aftermarket bushings installed, your 2012 F250 will ride better than ever and be ready for whatever challenges you throw its way.
Super Duty Radius Arm Bushings
The radius arm bushing is a very important part of your truck’s suspension. It helps to keep the radius arm in place and provides a smooth ride. Over time, these bushings can wear out and need to be replaced.
Here are some tips on how to do just that:
1. Jack up your truck and support it with jack stands. This will give you room to work and prevent the truck from falling on you while you’re working.
2. Remove the old bushings. You’ll need a pry bar or similar tool to do this. Be careful not to damage the surrounding metal parts as you pry out the old bushings.
3 . Install the new bushings. You may need to use a hammer to tap them into place.
Make sure they’re seated properly before moving on.
4 . Reassemble everything and lower your truck back down to the ground.
Ford Radius Arm Replacement
If you’re driving a Ford truck or SUV, then you know that they’re built to last. But even the toughest vehicles need occasional maintenance and repairs. One repair that may be necessary is replacing the radius arm.
The radius arm is responsible for keeping the axle in place while you’re driving. Over time, it can become worn down and need to be replaced. This is a relatively simple repair, but it’s important to have it done by a professional if possible.
If you’re experiencing any problems with your radius arm, or if it’s been more than a few years since it was last replaced, then it’s time to take your vehicle into the shop. Replacing the radius arm is a straightforward process, but it’s best left to those who know what they’re doing. With a new radius arm in place, your Ford will be back on the road in no time!
Conclusion
If you’re looking for a Ford radius arm bushing diagram, you’ve come to the right place. Here at Ford Parts Online, we have a wide selection of diagrams to help you find the perfect fit for your car.
Whether you need a replacement bushing or are just trying to figure out how everything fits together, our diagrams will help you get the job done.
Simply select your model and year from the drop-down menus, and then click on the “Diagrams” button to see all the available options.
If you have any questions about our diagrams or anything else, our team of experts is always happy to help. Just give us a call or send us an email and we’ll be happy to assist you in any way we can.