6.7 Cummins Oil Cooler Location: A Technical Guide For Owners And Technicians
For the 6.7 Cummins engine, maintaining optimal thermal management is the difference between a million-mile powerhouse and a costly shop visit. While the B-series engine is legendary for its durability, its reliance on a sophisticated liquid-to-liquid cooling system means that internal components like the oil cooler must function flawlessly. Locating the oil cooler and identifying its failure points can be difficult for owners unfamiliar with the driver-side engine architecture, especially when symptoms like ‘milkshake’ oil appear. This guide provides the exact 6.7 Cummins oil cooler location, identifies failure symptoms, and outlines the professional replacement steps used by the diesel community to keep these trucks on the road.
Identifying the 6.7 Cummins Oil Cooler Location and Layout
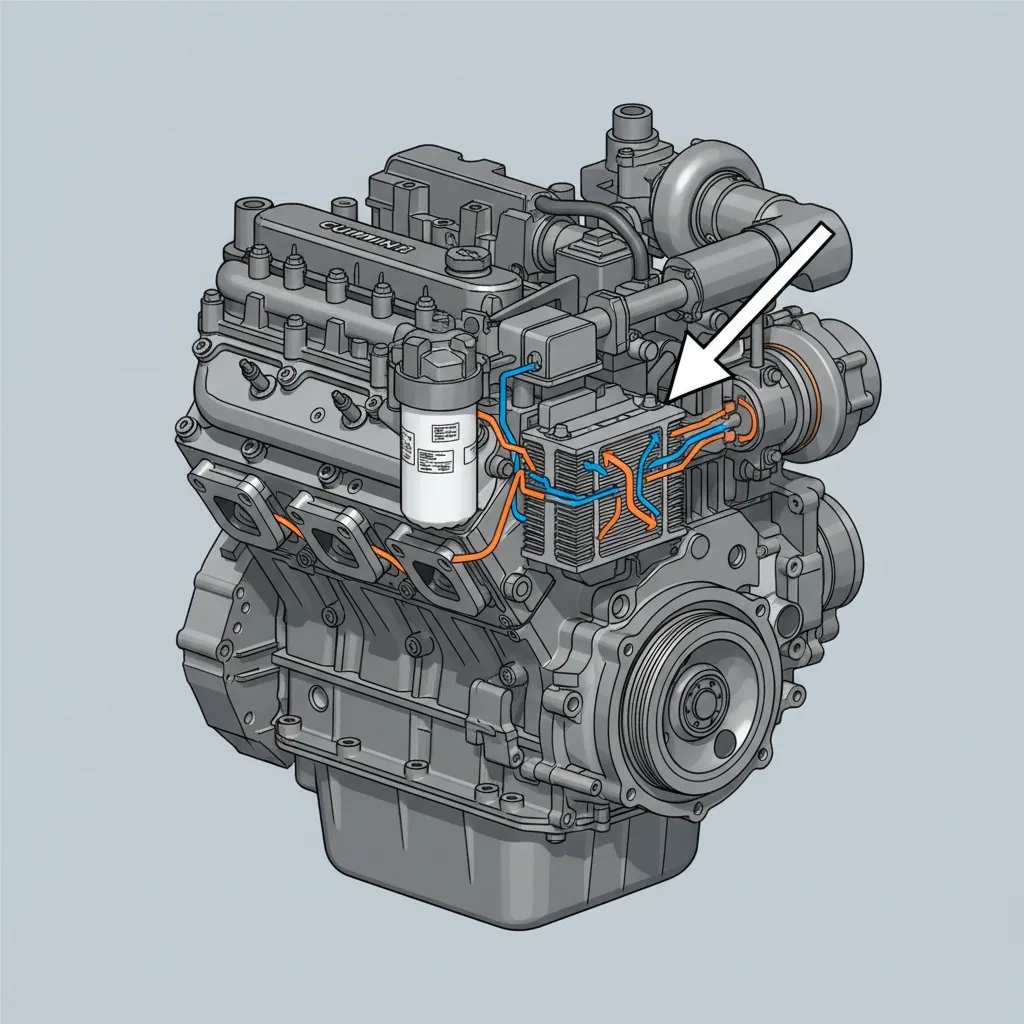
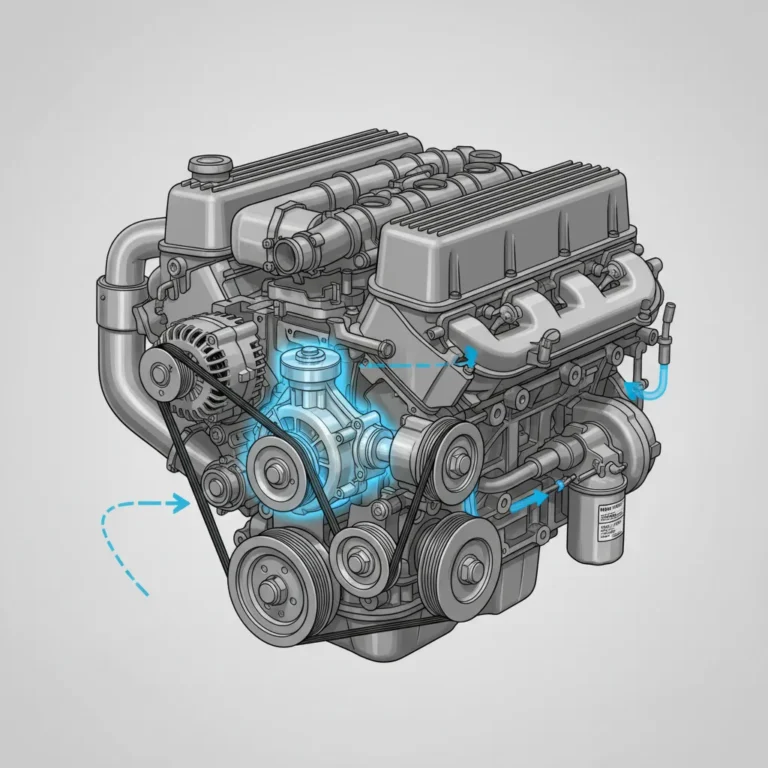
Precision is paramount when navigating the engine bay of a modern Ram truck. The primary 6.7 Cummins oil cooler location is positioned on the driver’s side of the engine block, integrated into the side of the crankcase. Unlike older engine designs where cooling components might be remotely mounted, the 6.7L utilizes a compact, high-efficiency design that nests the cooler directly into the block’s casting. This unit is typically mounted directly above the oil filter housing and sits in close proximity to the engine oil pan for efficient flow dynamics.
The component functions as a liquid-to-liquid heat exchanger, meaning it is plumbed into the engine’s cooling jacket. This allows the engine coolant to absorb excess heat from the lubricating oil. For visual identification, look for a rectangular aluminum housing with specialized gasket seals where the oil filter base attaches to the block. If you are following an official guide, you will see that this assembly is designed to handle oil pressures exceeding 60 PSI and coolant temperatures ranging from 190 to 220 degrees Fahrenheit.
In a real-world scenario, a technician performing a routine oil change might notice moisture or a greasy residue near the driver-side block wall above the filter. This area is often accessible but crowded, making it easy to overlook small “weeping” leaks. The integration of the cooler with the oil filter mount means that any failure in the gaskets or the internal stack-plate design can lead to immediate mixing of fluids, which is why understanding the exact layout is the first step in successful maintenance.
When searching for the cooler, follow the coolant lines that lead toward the oil filter area. The oil cooler acts as a bridge between the lubrication circuit and the cooling system, so these lines are your best visual roadmap.
Common Symptoms of a Failing 6.7 Cummins Oil Cooler
Early detection of oil cooler failure can save an owner thousands of dollars in engine rebuilding costs. The most notorious symptom is oil and coolant cross-contamination, often referred to in the community as the “milkshake” effect. This occurs when the internal plates of the cooler breach, allowing high-pressure oil (60+ PSI) to force its way into the lower-pressure cooling system (15-20 PSI). Consequently, you may find a thick, tan, or creamy sludge in the coolant degas bottle.
Another red flag is rising engine oil temperatures. By monitoring the EVIC (Electronic Vehicle Information Center), an operator can spot oil temperatures that climb significantly higher than coolant temperatures under normal load. While oil usually runs slightly hotter than coolant, a spread of more than 25–30 degrees during unloaded highway driving indicates the heat exchanger is clogged or failing. Furthermore, external leaks are common; visible oil or coolant weeping from the gasket interface on the driver’s side of the block is a sign that the seals have reached their service limit.
By The Numbers
Failures related to cooler contamination
Max safe delta between oil/coolant
Research indicates that approximately 15-20% of high-mileage 6.7 Cummins engine failures involve oil cooler internal wall breaches. This often begins as a subtle power loss or increased engine noise as the oil becomes thinned by glycol. For many drivers, the first sign is a “low coolant” light despite having no visible external puddles. Upon opening the hood, the technician finds the overflow tank filled with oil residue. If this occurs, do not continue to operate the vehicle, as glycol is highly abrasive to engine bearings and can lead to total catastrophic failure within miles.
If you find “milkshake” oil in your coolant or oil pan, the cooling system hoses and seals are likely compromised. Oil causes standard rubber coolant hoses to swell and soften, requiring a total system inspection.

Step-by-Step Oil Cooler Replacement Procedure
Replacing the oil cooler is a labor-intensive process that requires trusted local expertise or a well-equipped home garage. Standard labor times for this procedure range from 3.5 to 5 hours, depending on the truck configuration and the level of contamination present. To ensure a leak-free repair, follow the professional sequence below.
📋
Replacement Guide
Drain the engine coolant completely. Remove the oil filter and the oil filter housing base to gain clear access to the cooler’s mounting bolts.
Removal of the driver-side wheel well liner is highly recommended. This provides the necessary clearance for a torque wrench and better visibility of the rear-facing bolts.
Meticulously clean the sealing surface on the engine block. Any residual gasket material will lead to available leaks. Inspect the block for pitting or corrosion.
Install the new cooler using Ram specs for torque sequence. Following the Cummins-specified pattern ensures the aluminum housing does not warp.
Expert technicians often use a mirror and flashlight to inspect the rear-facing mounting bolts that are obscured by the frame rail. Once the unit is bolted down, a post-installation chemical flush is mandatory if cross-contamination has occurred. This removes oil from the radiator and heater core, which would otherwise insulate the cooling surfaces and cause overheating. Always consult the service manual for approved thread sealants and gasket lubricants to ensure a long-term seal.
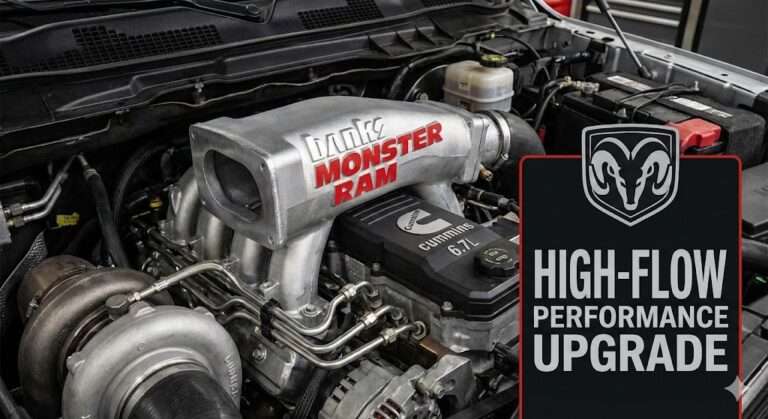
Aftermarket Performance Upgrades Serving the Diesel Community
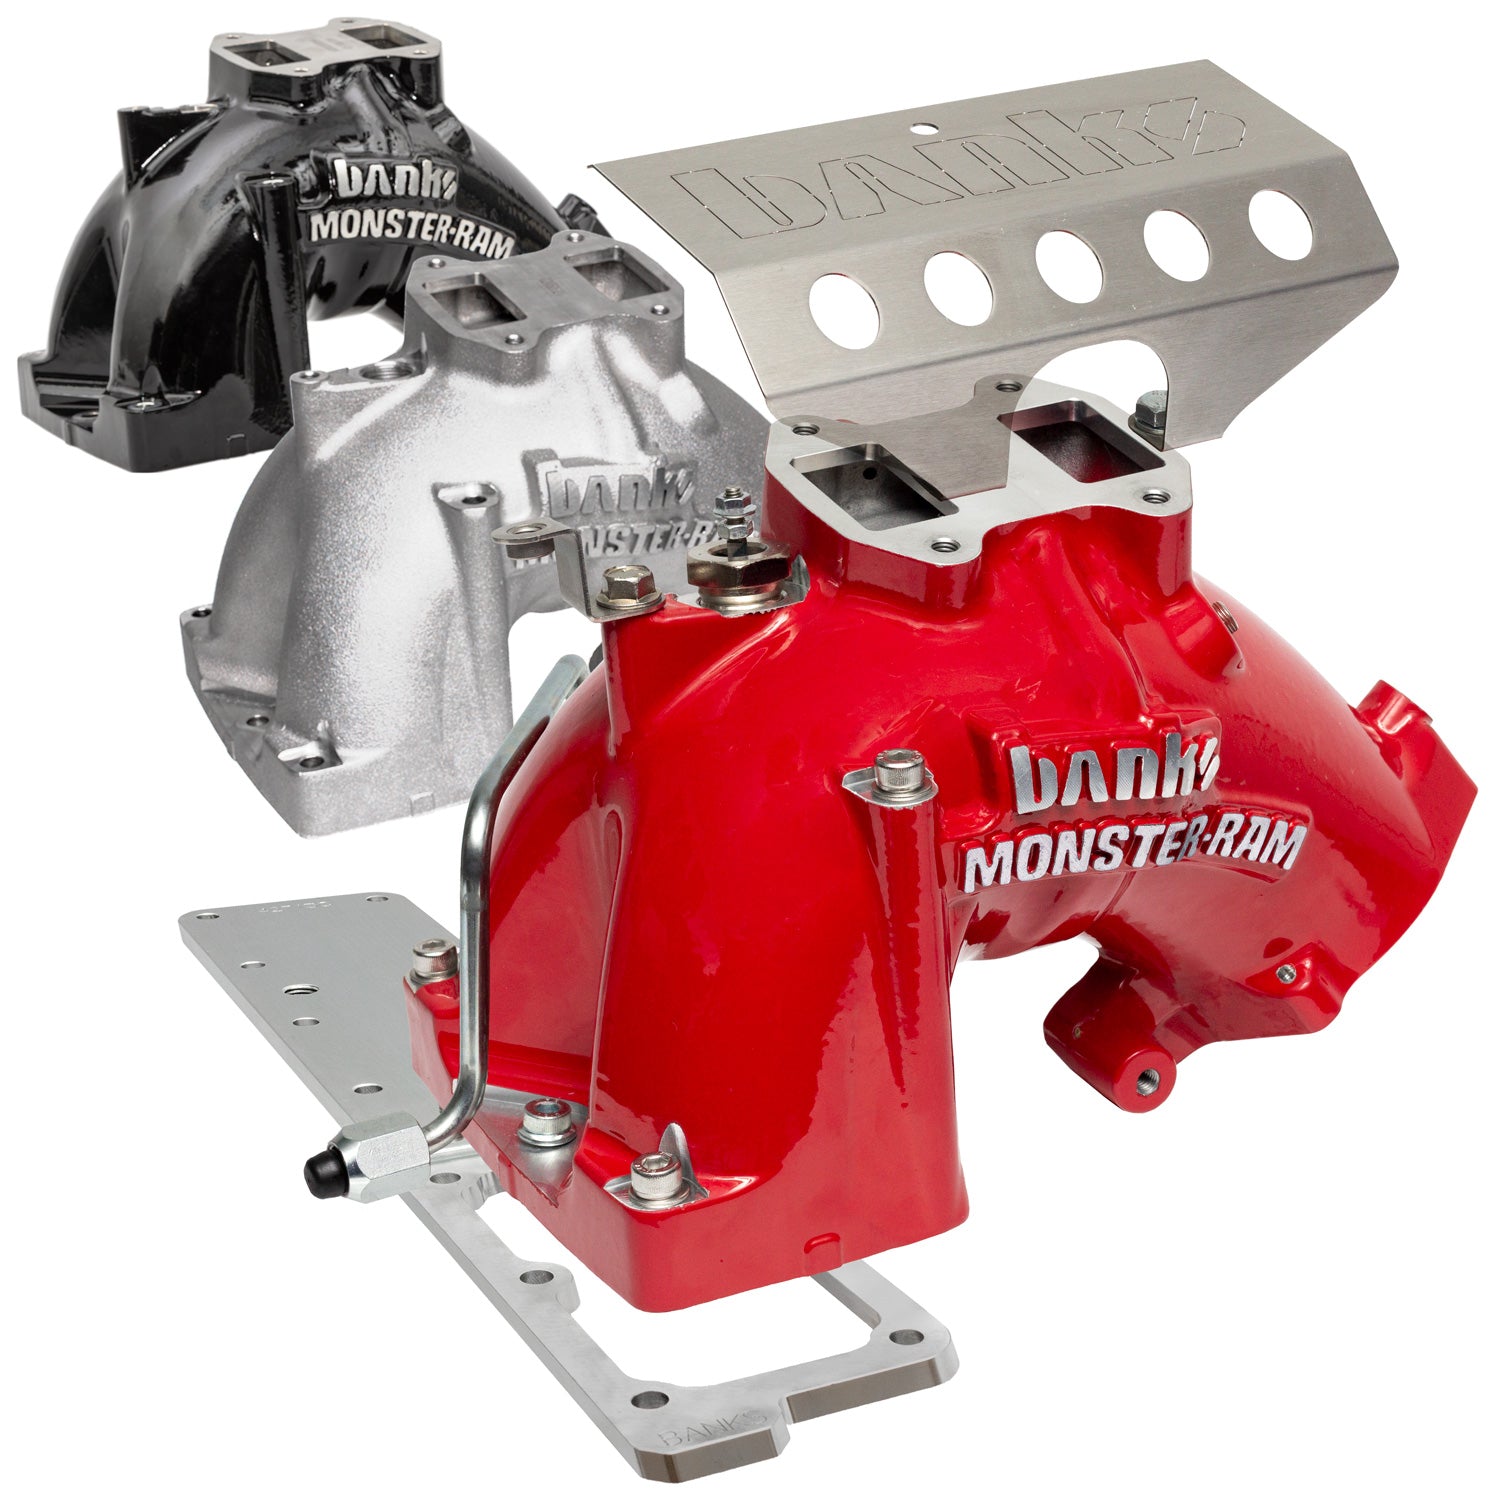
For owners who push their trucks to the limit—such as hot-shot haulers or those frequenting mountain passes—OEM specifications might not be enough. The aftermarket has stepped in to provide high-efficiency available options that exceed the cooling capacity of the stock unit. Brands like XDP and Thoroughbred Diesel offer upgraded oil coolers with reinforced internal welds and increased surface area for heat exchange.
Performance testing shows that these aftermarket upgrades can reduce peak oil temperatures by 10-20 degrees Fahrenheit under maximum load conditions. This reduction in heat is vital for maintaining oil viscosity and protecting the turbocharger bearings. When comparing the cost-benefit of an OEM replacement versus a heavy-duty alternative, many in the expert tips community suggest the upgrade is worth the investment for any truck used for commercial work.
Increased Durability
Reinforced internal brazing prevents the stack-plate breaches common in older OEM designs.
Superior Cooling
Offers a 10-20°F reduction in oil temps, preserving engine life during heavy towing.
Preventative Maintenance and Long-Term Reliability Tips
Longevity in a 6.7 Cummins is not an accident; it is the result of rigorous maintenance. To extend the life of your oil cooling system, prioritize regular coolant analysis. Monitoring the pH levels and nitrites in your coolant is convenient and prevents the cavitation and corrosion that eventually erode the oil cooler’s internal walls. A cooling system that becomes too acidic will literally eat through the aluminum plates from the inside out.
Scheduled oil samples are another “must-do” for the professional owner. By sending samples to nearby laboratories, you can detect trace amounts of glycol long before the “milkshake” becomes visible. Additionally, always use high-quality OEM or equivalent filters to prevent particulate buildup within the cooler’s narrow passages. A clogged cooler won’t just fail to cool; it can restrict oil flow to the entire top end of the engine.
✅ Reliability Pros
- Maintains 50/50 coolant mix for 30% longer gasket life.
- Coolant filtration removes erosive casting sand.
- Regular exterior cleaning allows heat dissipation.
❌ Maintenance Cons
- Neglecting pH leads to rapid internal corrosion.
- Using tap water causes scale buildup in cooler fins.
- Ignoring external weeping leads to sudden failure.
Finally, consider integrating a coolant filtration system. These kits are serving the diesel community by removing casting sand and debris that can act as an abrasive, scouring the delicate internal passages of the heat exchanger. By keeping the engine block free of debris and maintaining chemistry, you ensure the oil cooler remains a trusted local partner in your engine’s performance for years to come.
Summary and Final Recommendations
The oil cooler is a vital yet often overlooked component located on the driver’s side of the block, directly above the oil filter. Failure of this unit typically presents as oil and coolant mixing, which requires immediate attention to prevent severe bearing damage. Whether you choose an OEM replacement or opt for a high-performance aftermarket upgrade that provides a 10-20 degree temperature drop, the key is professional installation and meticulous system flushing. If you suspect an oil cooler failure, contact a specialized diesel technician nearby to perform a pressure test and ensure your engine’s longevity.
Frequently Asked Questions
What are the symptoms of a failing 6.7 Cummins oil cooler?
The most prevalent symptoms include finding oil in your coolant reservoir (a dark, thick sludge) or coolant in your engine oil (turning it milky). You may also notice rising oil temperatures on your dashboard display or external leaks dripping down the driver’s side of the engine block near the oil filter housing.
How difficult is it to replace the 6.7 Cummins oil cooler?
Replacing the oil cooler is a moderately difficult task rated as a 6 out of 10. It requires draining the cooling system, removing the oil filter, and accessing tight mounting bolts on the side of the block. Access is the primary challenge, often requiring the removal of the inner fender liner for proper clearance.
What is the cost of a replacement 6.7 Cummins oil cooler?
A standard OEM replacement kit typically costs between $200 and $400 for parts alone. If you hire a professional shop, labor can add another $400 to $700 depending on local rates. If cross-contamination has occurred, expect additional costs for high-quality chemical flushes and multiple oil changes.
Are there any upgraded oil coolers available for the 6.7 Cummins?
Yes, several aftermarket manufacturers offer heavy-duty versions of the 6.7 Cummins oil cooler. These units often feature improved internal brazing and more efficient heat exchange cores. Brands like XDP and Thoroughbred Diesel provide options that can reduce operating temperatures by up to 20 degrees Fahrenheit under heavy load.
What tools are needed to replace the 6.7 Cummins oil cooler?
You will need a comprehensive metric socket set (specifically 10mm and 13mm), a torque wrench, a large drain pan for both oil and coolant, and cleaning tools for the gasket surface. A set of wobble extensions is highly recommended to reach the upper mounting bolts located behind the frame rail.


![P2149 Cummins Code: Diagnosing Injector Group B Circuit Faults [2026]](https://truckguider.com/wp-content/uploads/2026/03/p2149-cummins-code-featured.webp)