Dodge Ram Headlights: Diagram & Configuration Guide
The 2004 Dodge Ram headlights system consists of a dual-beam bulb configuration housed within a specific assembly structure. This setup includes high and low beam circuits, turn signal indicators, and parking lights. Understanding the internal layout is essential for troubleshooting electrical components or replacing the entire headlight assembly safely.
📌 Key Takeaways
- Identifies the specific wiring and bulb layout for the headlight assembly
- Most important component is the Integrated Power Module (IPM) relay
- Always disconnect the battery before handling high-voltage electrical connections
- Use the diagram to trace voltage drops or identify faulty ground points
- Perfect for performing aftermarket upgrades or replacing damaged housings
If you are working on your vehicle’s lighting, whether for a simple bulb replacement or a complex electrical repair, having a clear understanding of the 2004 dodge ram headlights system is essential. This heavy-duty truck utilizes a specific lighting architecture that bridges the gap between traditional analog wiring and modern computer-controlled modules. By following a detailed diagram and understanding the component layout, you can save hours of frustration and avoid costly damage to the truck’s electrical system. This guide provides a comprehensive overview of the headlight assembly, the internal wiring schematic, and practical troubleshooting steps to keep your path illuminated.
Understanding the Lighting System Configuration
The headlight system on a 2004 Dodge Ram is integrated into the vehicle’s Front Control Module (FCM) and the Integrated Power Module (IPM), which is essentially the fuse box located under the hood. Unlike older vehicles where a switch directly sends power to the bulbs, this truck uses the FCM to monitor current and manage power distribution. This configuration means that the diagram is not just a map of wires but a blueprint of how logic signals translate into physical light.
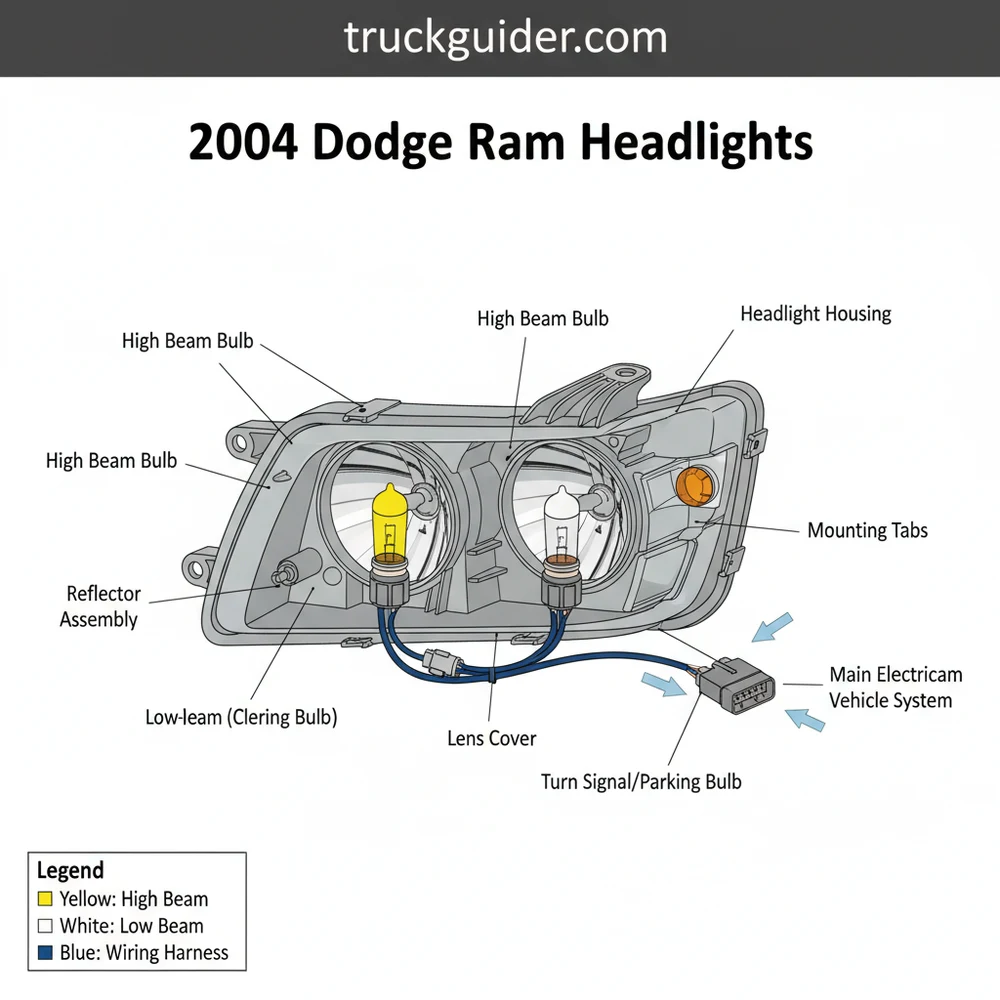
The 2004 Dodge Ram uses a 9007 (HB5) dual-filament bulb for the main headlight assembly. This single bulb handles both low-beam and high-beam functions, which simplifies the housing structure but complicates the wiring requirements for heat management.
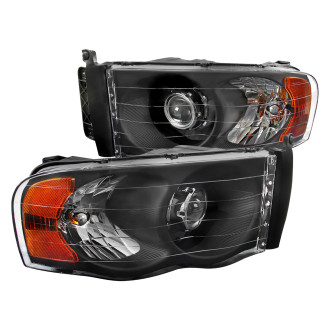
The visual structure of the headlight assembly consists of the main polycarbonate lens, the reflective inner housing, the 9007 primary bulb socket, and the 3157/4157 dual-purpose turn signal and parking lamp socket. The diagram identifies three primary mounting points: two bolts accessible from the front/top and one hidden bolt accessible through the wheel well or by removing the plastic splash guard. Understanding this layout is critical because many owners accidentally snap the plastic mounting tabs by failing to locate the third hidden fastener.
Physical Component Identification
To effectively use a schematic, you must first identify the physical components involved in the headlight circuit. The 2004 Dodge Ram utilizes a “ground-side” switching or “high-side” switching depending on the specific build date, though most 2004 models follow the high-side power distribution via the IPM.
- ✓ Headlight Housing: The clear plastic enclosure that protects the bulbs and directs light via reflectors.
- ✓ 9007 Main Bulb: The dual-filament halogen bulb responsible for forward illumination.
- ✓ 3157 Turn/Park Bulb: The amber bulb located at the lower outer corner of the assembly.
- ✓ Main Wiring Harness: The bundle of wires connecting the assembly to the vehicle’s main electrical trunk.
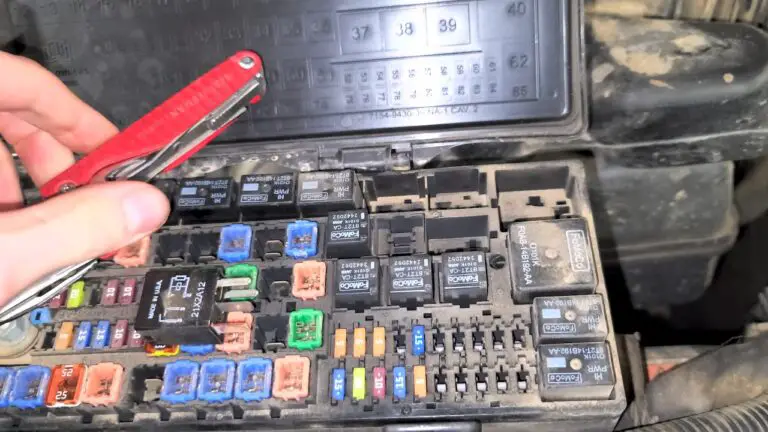
- ✓ IPM (Integrated Power Module): The “brain” of the power distribution, located on the driver-side fender well.
- ✓ FCM (Front Control Module): A silver computer module bolted to the side of the IPM that controls lighting logic.
How to Read and Interpret the Headlight Schematic
Reading a 2004 dodge ram headlights schematic requires an understanding of how the wires are color-coded and labeled. In the factory blueprint, you will notice that the left and right headlights are treated as independent circuits. This is a safety feature; if a short occurs on the driver’s side, the passenger side remains functional.
The 9007 bulb connector has three pins. In the standard configuration:
1. The middle pin is typically the Ground (Black or Black/Light Blue).
2. One outer pin is the Low Beam Feed (often White/Dark Blue for the left side).
3. The other outer pin is the High Beam Feed (often White/Light Green for the left side).
When looking at the diagram, notice the flow of energy. Power starts at the battery, travels through a high-amperage fuse in the IPM, enters the FCM where it is switched via internal solid-state relays, and then travels through the firewall to the headlight switch and back out to the front of the truck.
Never probe the wiring harness with a sharp test light while the system is energized. The FCM is sensitive to voltage spikes and improper grounding, which can lead to a total failure of the module costing hundreds of dollars to replace.
Step-by-Step Guide to Understanding and Removal
If you need to replace the assembly or access the wiring for repair, follow these systematic steps based on the general layout of the vehicle.
1. Preparation and Safety: Ensure the engine is off and the headlight switch is in the “O” or Off position. For electrical repairs, disconnect the negative battery cable to prevent short circuits within the FCM.
2. Locate Upper Fasteners: Open the hood and identify the two 10mm bolts located on the inner edge of the headlight assembly, near the radiator support. Remove these and set them aside.
3. Access the Hidden Bolt: Locate the plastic flap inside the front wheel well. Peel this back to reveal a single 10mm bolt pointing upward into the bottom of the headlight housing. This is the most critical step in the 2004 dodge ram headlights removal process.
4. Disengage the Housing: Firmly but gently pull the headlight assembly forward. There is a plastic “ball and socket” stud on the outer edge that snaps into the fender. A straight, outward pull is required to release it without breaking the plastic.
5. Disconnect the Electrical Connectors: Once the housing is loose, reach behind it to find the red locking tabs on the wiring harnesses. Slide the red tab back, press the release lever, and pull the connector off the 9007 and 3157 bulbs.
6. Inspect the Connector Structure: Examine the plug for signs of melting or corrosion. The 2004 model is known for heat buildup at the connector, which can deform the plastic and cause intermittent contact.
7. Consult the Schematic for Testing: If you are troubleshooting a dead light, use a multimeter on the DC voltage setting. Check for 12V at the power pins while the headlight switch is turned on.
8. Reinstallation: Reverse the process, ensuring the ball-stud snaps securely into the fender socket before tightening the three 10mm bolts.
When reinstalling the bulbs, never touch the glass of the new halogen bulb with your bare fingers. The oils from your skin cause “hot spots” on the glass, which will lead to the bulb shattering or burning out prematurely.
Common Issues & Troubleshooting
The 2004 Dodge Ram headlights system is robust but has specific failure points that are frequently documented by owners. By using the diagram to trace the system, you can narrow down whether your problem is a simple bulb or a complex module failure.
Intermittent Flickering: This is often caused by a loose connection at the 9007 bulb socket. Because the Ram vibration is significant, the pins inside the connector can spread apart over time.
One Side Completely Dark: If replacing the bulb doesn’t work, the issue is likely in the IPM. Corrosion on the underside of the fuse box is a common 2004 dodge ram headlights problem. Road salt and moisture seep into the layers of the IPM, severing the connection between the FCM and the output wire.
High Beams Won’t Engage: This usually points to a failure in the multi-function switch (the turn signal stalk) or the FCM logic. If the diagram shows power reaching the switch but not leaving it, the stalk is the culprit.
Melted Connectors: High-wattage aftermarket bulbs often draw more current than the factory blueprint allows, leading to melted plastic at the bulb interface.
If you find that both headlights are out and the fuses are intact, the Front Control Module is likely the point of failure. Professional diagnostic tools may be needed to reset the FCM “short circuit” counters, as the module will software-lock a circuit if it detects a recurring short.
Tips and Best Practices for Longevity
To keep your 2004 dodge ram headlights functioning at peak performance, regular maintenance and smart upgrades are recommended. The plastic lenses on these trucks are notorious for “yellowing” or oxidation due to UV exposure. This not only looks poor but significantly reduces the light output and safety of the vehicle.
Lens Restoration: Use a high-quality restoration kit to clear up hazy lenses. Once cleared, apply a UV-resistant sealant to prevent the oxidation from returning within months.
Dielectric Grease: Whenever you have the connectors unplugged, apply a small amount of dielectric grease to the terminals. This prevents moisture intrusion and stops the corrosion that often plagues the 3rd generation Ram electrical systems.
Ground Inspections: The headlight circuit relies on a solid ground connection to the chassis. Periodically check the ground lugs located on the inner fenders near the battery. If they are rusty, sand them down to bare metal and re-secure the wires.
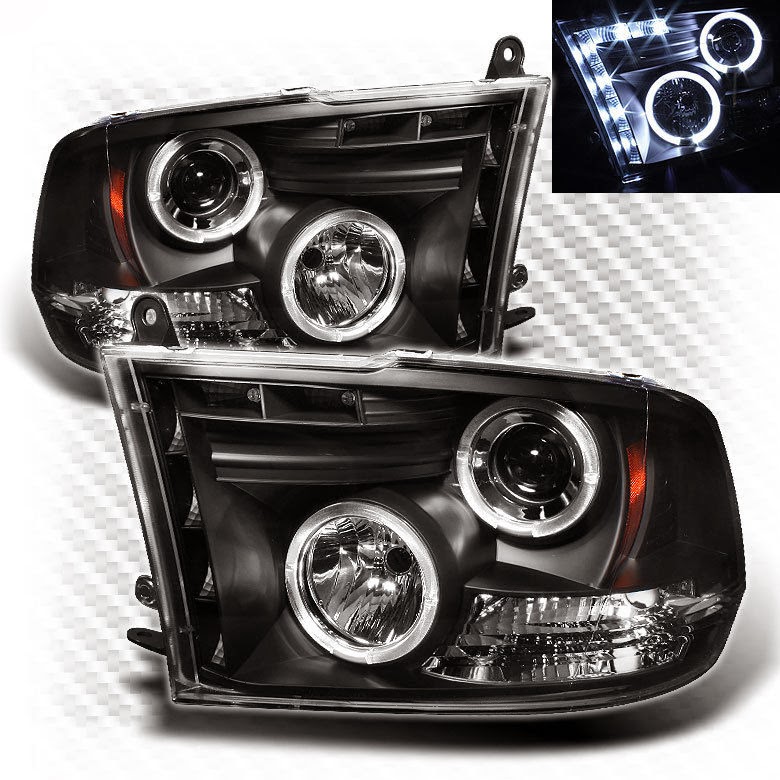
LED Upgrades: If you decide to upgrade to LED bulbs, ensure you purchase a kit with “Canbus-ready” resistors. Because the 2004 dodge ram headlights system is monitored by the FCM, standard LEDs will cause a “Lamp Out” warning on the dashboard or may result in a strobing effect.
The factory wiring for the 2004 Ram is 18-gauge, which is relatively thin. If you plan on running high-performance halogen bulbs, consider installing a dedicated relay harness that pulls power directly from the battery and uses the factory wiring only as a trigger signal.
Maintaining the 2004 dodge ram headlights system is a manageable task for any DIY enthusiast when armed with the right overview and schematic. By understanding the relationship between the physical components, the wiring layout, and the control modules, you can ensure your truck remains safe for night driving. Whether you are performing a simple bulb swap or diagnosing a complex IPM failure, this comprehensive guide serves as the foundation for a successful repair. Always prioritize safety, use the correct tools, and refer back to the component blueprint whenever you encounter an electrical mystery under the hood of your Ram.
Frequently Asked Questions
Where is the headlight relay located?
The headlight relay is typically integrated into the Integrated Power Module (IPM) or Front Control Module (FCM) located in the engine bay. Specifically, look for the power distribution center on the driver’s side, where various fuses and relays manage the power delivery to the front lighting system components.
What does the headlight diagram show?
The diagram illustrates the complete electrical path and physical arrangement of the lighting system. It displays how power travels from the battery through the fuse box to the bulbs, identifying specific wire colors and ground locations. This is essential for diagnosing why lights might be flickering or failing.
How many wires does the headlight connector have?
Most standard assemblies for this vehicle use a three-pin connector for the main headlight bulb, typically an H13 or 9008 bulb. These three connections represent the ground, the low-beam power supply, and the high-beam power supply, which are managed by the vehicle’s central electrical configuration and switch.
What are the symptoms of a bad headlight system?
Common symptoms of a failing headlight system include one or both bulbs not illuminating, flickering lights when hitting bumps, or extremely dim output. You might also notice a burning smell from the wiring harness or see a lamp out warning on the dashboard, indicating a break in the circuit.
Can I install this myself?
Replacing the headlight assembly or bulbs is a very feasible DIY task for most owners. The process generally involves removing a few bolts and disconnecting the wiring harness. Most people can complete the entire configuration swap in under thirty minutes with standard hand tools found in a basic garage.
What tools do I need for this task?
To perform most headlight tasks, you will need a 10mm socket and ratchet to remove the mounting bolts. A flat-head screwdriver or trim removal tool is also helpful for releasing plastic clips on the layout. Additionally, wearing gloves is recommended to avoid getting oils on the new glass bulbs.