What Does a Bad CV Joint Sound Like 2026 Expert Guide

A failing CV joint typically produces a distinctive clicking, popping, or snapping noise when making sharp turns at low speeds. Ignoring these warning signs can lead to total axle failure and a complete loss of vehicle control.
A failing constant velocity joint primarily produces a distinct clicking, popping, or snapping noise that accelerates as your wheels turn faster. If you hear a rhythmic metallic chatter every time you navigate a tight corner or pull out of a parking space in your vehicle, your outer CV joint is likely worn out and crying out for attention in 2026.

Prime for Young Adults — 6 Months Free
Students and 18–24s get six months of Prime free, then half price.
Start 6 Months FreeIgnoring this diagnostic audio cue is a gamble you cannot afford to take. When a joint completely shears apart at highway speeds, you lose all power transfer to the wheels and risk catastrophic steering loss. Let’s break down the exact acoustics of CV joint failure so you can pinpoint the problem immediately.
Key Takeaways
- Outer CV joints produce rhythmic clicking noises during sharp turns.
- Inner CV joints cause clunking or thudding sounds during acceleration and deceleration.
- A torn rubber boot leaking grease is the primary catalyst for CV joint failure.
- Vibrations felt through the steering wheel often accompany advanced CV joint wear.
- Prompt replacement prevents sudden axle snapping and more expensive drivetrain damage.
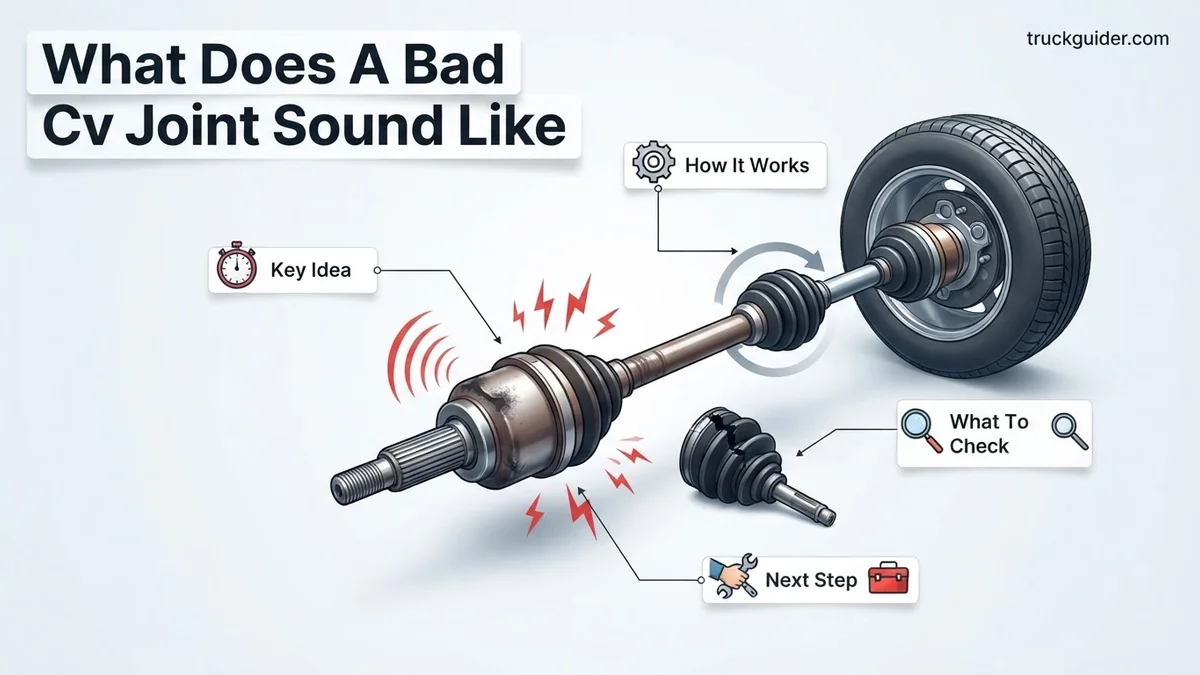
What Does a Bad CV Joint Sound Like While Driving
Recommended Best Deal Products

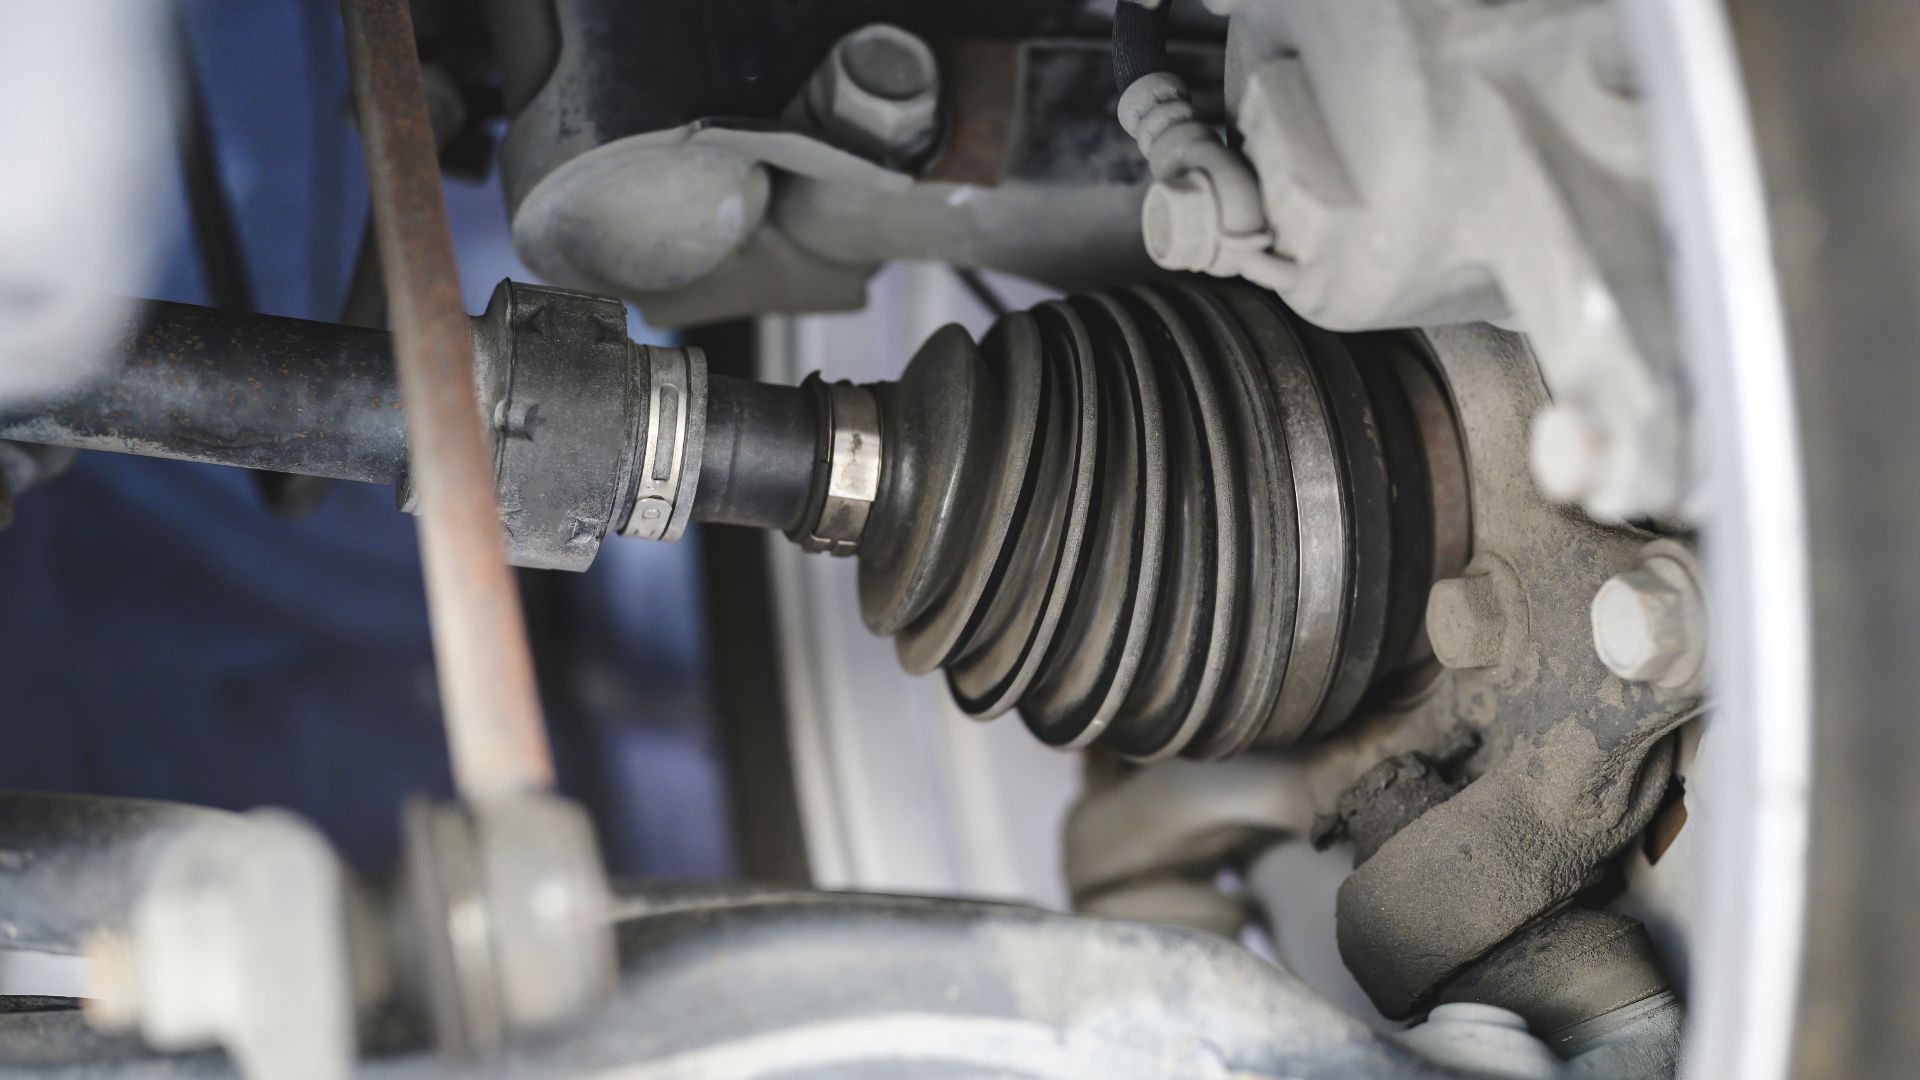
Your driving maneuvers dictate the exact type of noise a failing joint will emit. Because outer and inner joints handle different stresses, the auditory symptoms change depending on whether you are turning, accelerating, or cruising down a straight stretch of asphalt.
The Classic Outer CV Joint Click and Pop
The definitive sign of a damaged outer CV joint is a sharp, metallic clicking or popping noise that occurs when you make a sharp turn. As you crank the steering wheel all the way to the left or right and press the gas, the worn ball bearings inside the joint bind and snap. Key acoustic characteristics include:
- A rhythmic tick-tick-tick or clack-clack-clack tempo
- Sound frequency that increases directly with your vehicle speed
- Noises that disappear or soften significantly when you straighten the steering wheel
Inner CV Joint Clunks and Heavy Vibration
While outer joints click in turns, inner CV joints (closer to your transmission) make their presence known through heavy clunks and vibrations. When the inner joint loses its structural integrity, you will typically experience:
- A heavy single clunk or thud when shifting between Drive and Reverse
- A sudden bang or shudder when you press down hard on the accelerator pedal
- A persistent floorboard vibration that intensifies between 45 and 65 mph
How to Diagnose and Test a Failing CV Joint
Pinpointing a bad joint requires more than just listening from the driver’s seat. Modern vehicle diagnostics in 2026 rely on a combination of targeted physical tests and visual inspections to confirm that the CV axle assembly is indeed the culprit behind those strange noises.
The Empty Parking Lot Figure-Eight Test

Audible — Listen Free for 30 Days
One free credit a month and thousands of titles included.
Listen Free for 30 DaysIf you suspect a bad outer joint, perform this classic mechanical test in a safe, open area:
- Find an empty, flat asphalt parking lot during daylight hours.
- Turn your steering wheel as far to the right as it will comfortably go.
- Drive the vehicle in a slow, tight circle while listening closely with your windows down.
- Shift into reverse, turn the wheel fully to the left, and repeat the slow circular drive.
If you hear a distinct clicking or snapping that changes pitch with your wheel rotation, the outer boot and joint on that specific side have failed.
The Visual Boot Inspection
Sound is only half the battle; visual confirmation seals the diagnosis. Jack up your vehicle safely, secure it on jack stands, and look directly behind your front wheels. You want to inspect the rubber accordion-style boots covering the joints. Look for thick black grease splattered across the inside of your wheel rim or along the vehicle’s frame, which indicates a torn boot that has flung its protective lubrication outward, dooming the internal joint.
Step-by-Step Guide to Replacing a Bad CV Joint
Fixing a compromised constant velocity joint requires specific mechanical tools and safety equipment. According to automotive service guidelines for 2026, replacing just the boot is only viable if the joint has not yet been contaminated by dirt or lost its lubrication.
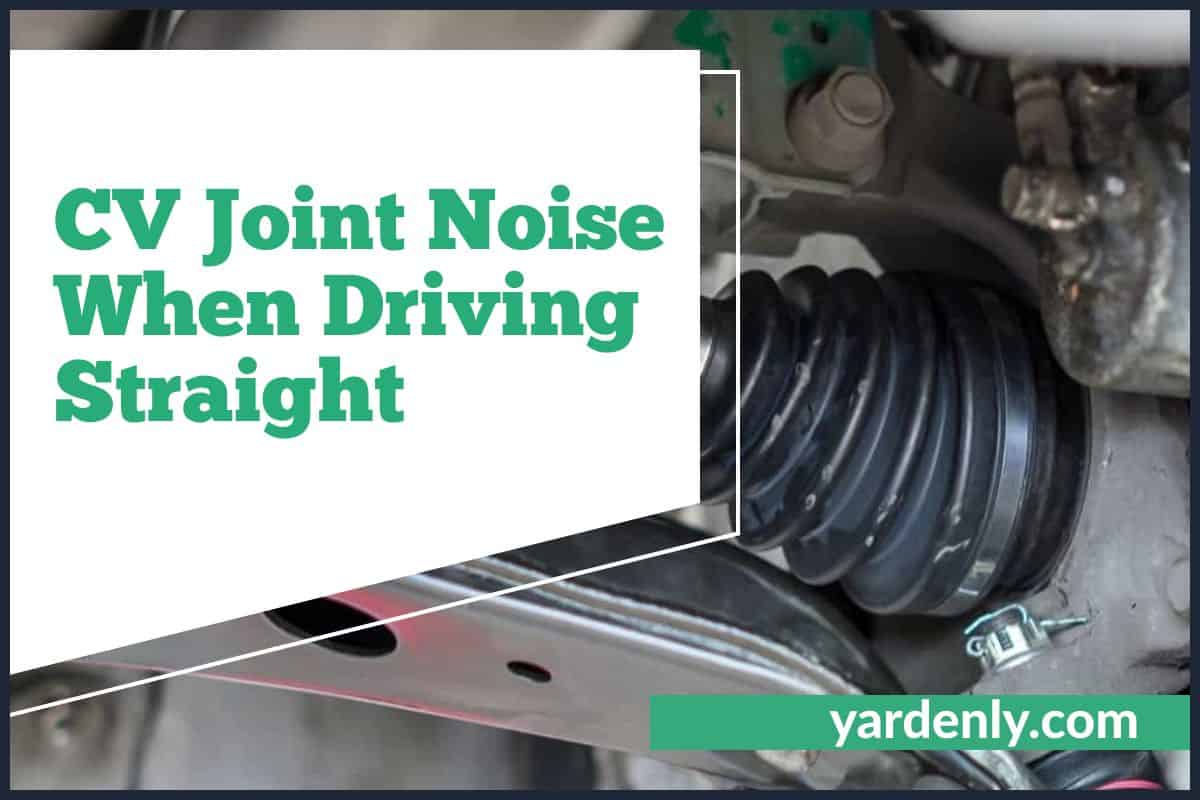
Preparation and Disassembly
- Park the vehicle on a flat, level surface, engage the parking brake, and loosen the lug nuts on the affected wheel.
- Raise the vehicle securely using a hydraulic floor jack and support it with heavy-duty jack stands. Remove the wheel assembly entirely.
- Remove the cotter pin and the large axle nut located in the center of the wheel hub. This often requires a breaker bar and a high-torque socket.
- Disconnect the lower ball joint or outer tie rod end to create enough clearance to pull the axle shaft out of the steering knuckle.
Axle Extraction and Installation
- Carefully pry the inner CV joint away from the transmission transaxle or differential housing using a large pry bar, catching any escaping gear oil.
- Slide the entire axle assembly out of the vehicle and clamp it securely in a workbench vise to service the boot or replace the complete shaft.
- Install the new or remanufactured axle assembly into the transmission housing until the internal c-clip snaps securely into place.
- Reassemble the suspension components, torque all bolts to factory manufacturer specifications, and refill any lost transmission fluid.
What If the Vibration or Noise Still Does Not Stop
Sometimes replacing a noisy axle shaft fails to resolve the underlying symptoms. Drivers who still notice clicking or shaking should investigate related drivetrain and suspension components.
- Inspect the wheel bearings: A worn wheel bearing produces a constant humming or growling noise that intensifies when turning the steering wheel at highway speeds.
- Check the suspension bushings and struts: Worn control arm bushings or failing struts can mimic axle vibration under acceleration and braking.
- Examine the motor and transmission mounts: Cracked or soft engine mounts allow the drivetrain to shift violently, creating torque steer and vibration similar to a failing CV joint.
- Verify wheel balance and alignment: Unbalanced tires or severe misalignment can cause steering wheel shakes that persist regardless of axle condition.
- Consult a professional technician: If DIY troubleshooting does not eliminate the noise, take the vehicle to a certified repair facility. According to 2026 automotive labor standards, professional axle replacement typically costs between $350 and $900 depending on the vehicle make and model.
Conclusion
Ignoring a clicking or popping CV joint ultimately leads to complete axle separation, sudden loss of power to the wheels, and dangerous driving conditions. Addressing the issue early by replacing a torn boot or a worn half-shaft preserves your vehicle’s steering control and safety. According to verified research and expert automotive safety sources, proactive drivetrain maintenance prevents costly roadside breakdowns. Schedule a professional inspection today if you suspect your vehicle exhibits symptoms of a failing constant velocity joint.
❓ Frequently Asked Questions
What is the exact difference between inner and outer CV joint sounds?
Outer CV joints produce a sharp, rhythmic clicking or popping noise when turning the steering wheel. Inner CV joints usually create a duller clunk, thud, or vibration when pressing the gas pedal or shifting gears.
Audible Premium Plus — Annual Membership
12 audiobook credits up front, plus the full Audible catalogue.
See Annual PlansHow can I visually inspect a CV joint for damage?
Look behind your front wheels for dark, thick grease splattered on the inside of the rim, suspension components, or the axle shaft itself. A torn, cracked, or missing rubber boot confirms the joint is exposed to contaminants.
How long can you drive on a clicking CV joint?
Driving on a clicking CV joint is extremely risky and should be limited to an immediate trip to a mechanic. Once the clicking starts, the joint lacks lubrication and can disintegrate or snap without warning, causing a loss of power to the wheels.
Is a bad wheel bearing sound different from a bad CV joint sound?
Yes, a bad wheel bearing creates a continuous humming, roaring, or grinding noise that gets louder as vehicle speed increases, regardless of whether you are turning. A CV joint noise is typically a sharp click tied to wheel rotation and turning angles.
Can I replace just the CV boot instead of the whole axle?
You can replace just the boot if you catch the damage immediately before dirt enters the joint. However, if the joint has already started clicking, the internal metal components are worn, requiring a complete axle assembly replacement.
What happens if a CV joint completely breaks while driving?
If a CV joint breaks entirely, the axle shaft will spin freely without transferring power to the wheels, leaving the car completely immobilized. It can also cause secondary damage to surrounding suspension parts and brake lines.
![Dodge P0305 Code: Cylinder 5 Misfire Causes & Solutions [2026]](https://truckguider.com/wp-content/uploads/2026/03/po305-code-dodge-featured.webp)
![2016 Ram 2500 Turbo Actuator: Guide to Costs: Complete Guide [2026]](https://truckguider.com/wp-content/uploads/2026/03/2016-ram-2500-turbo-actuator-featured.webp)
![Truck Bed Liner Repair Guide: Complete Fix Guide [2026]](https://truckguider.com/wp-content/uploads/2026/03/truck-bed-liner-repair-featured.webp)