2004 Chevy Silverado Radio Wiring Diagram: Complete Guide 2026

Upgrading the sound system in your 2004 Chevy Silverado is a common project, but it is rarely as straightforward as simply matching wire colors and twisting connections. Many DIY enthusiasts and even novice installers face immediate failure because they assume a standard switched ignition wire exists within the factory harness, which is not the case for this generation of GM trucks. If you are preparing to replace your head unit, you need more than just a soldering iron; you need a deep understanding of the vehicle’s electrical architecture.

Understanding 2004 Chevy Silverado Radio Wiring Diagram Complexity
Recommended Best Deal Products


Why Standard Switched Power is Missing
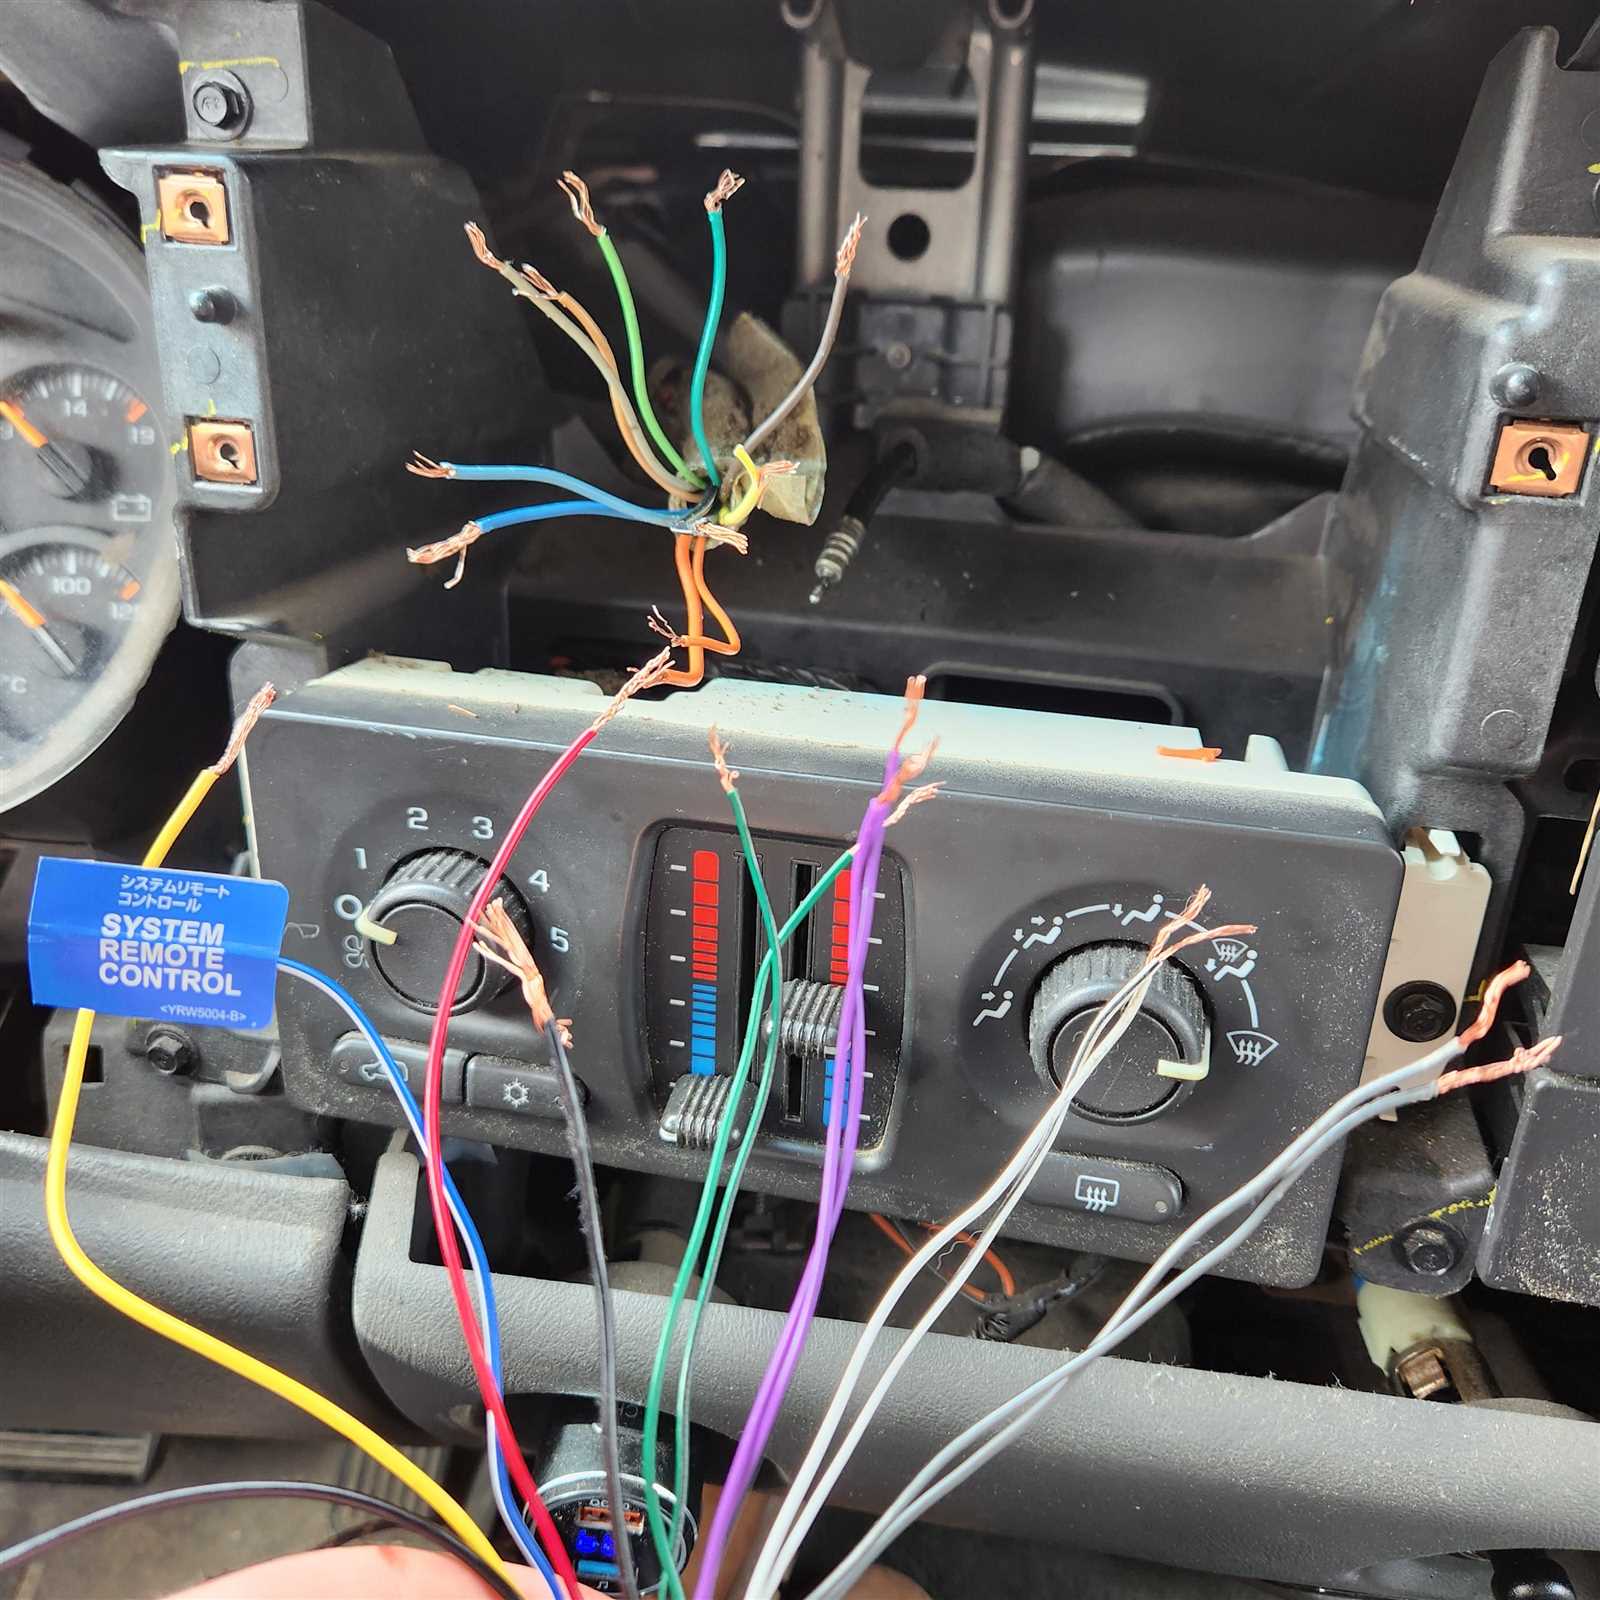
In most vehicles, the ignition switch sends a physical 12V signal to the radio when you turn the key. In the 2004 Silverado, however, the factory radio does not receive a switched ignition signal from the harness. Instead, it receives a digital “wake-up” command via the vehicle’s serial data network. If you attempt to wire your aftermarket deck by searching for an accessory wire in the factory harness, you will either find no signal or, worse, you could interfere with the truck’s computer.
The Role of the Class II Data Bus
The Class II Data Bus acts as the nervous system for your truck’s cabin electronics. It communicates between the Body Control Module (BCM) and the radio. The BCM sends data packets to tell the radio when to turn on, when to stay on after the key is removed (Retained Accessory Power), and when to play warning chimes. An aftermarket head unit does not “speak” this language, which is why a translation interface is mandatory for a reliable installation.
Risks of Manual Hardwiring
Many installers try to bypass the interface by running a manual wire from the fuse box to the radio’s red accessory lead. While this might turn the radio on, it creates several problems: you lose the ability to keep the radio on until the door is opened, you lose the essential safety and warning chimes, and you risk triggering a Service Engine Soon light due to the disruption of the data bus circuit.
Professional 2004 Chevy Silverado Radio Wiring Diagram Pinout Guide
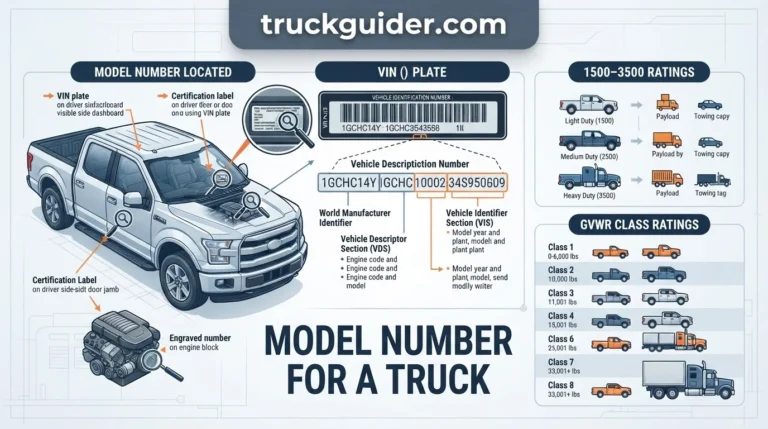
Factory Harness Color Standards
Always verify these colors with a multimeter. GM standardized these colors across most 2003-2007 Classic Silverado models, but factory variations exist. The Orange wire provides the memory retention power, while the Black wire must be securely grounded to the chassis or the harness.
Constant Power and Ground Pins
The 12V constant power (Orange) is essential for keeping your clock and radio presets. A poor ground (Black) is the most common cause of intermittent audio or display flickering. Ensure your ground connection is made to a solid, unpainted metal point if you are not using the factory ground pin.
Bose vs. Non-Bose Audio Signal Routing
If your truck is equipped with the factory Bose premium sound system, the wiring differs significantly. The head unit sends a low-level signal to an external amplifier located under the center console or behind the dash. Connecting the speaker wires directly to an aftermarket head unit’s high-level output will distort the signal and likely damage the amplifier. You must use a Bose-compatible interface to step down the signal and trigger the amplifier’s remote turn-on wire.
How to Install an Aftermarket Head Unit in a 2004 Silverado
Recommended Best Deal Products


📋
Step-by-Step Installation
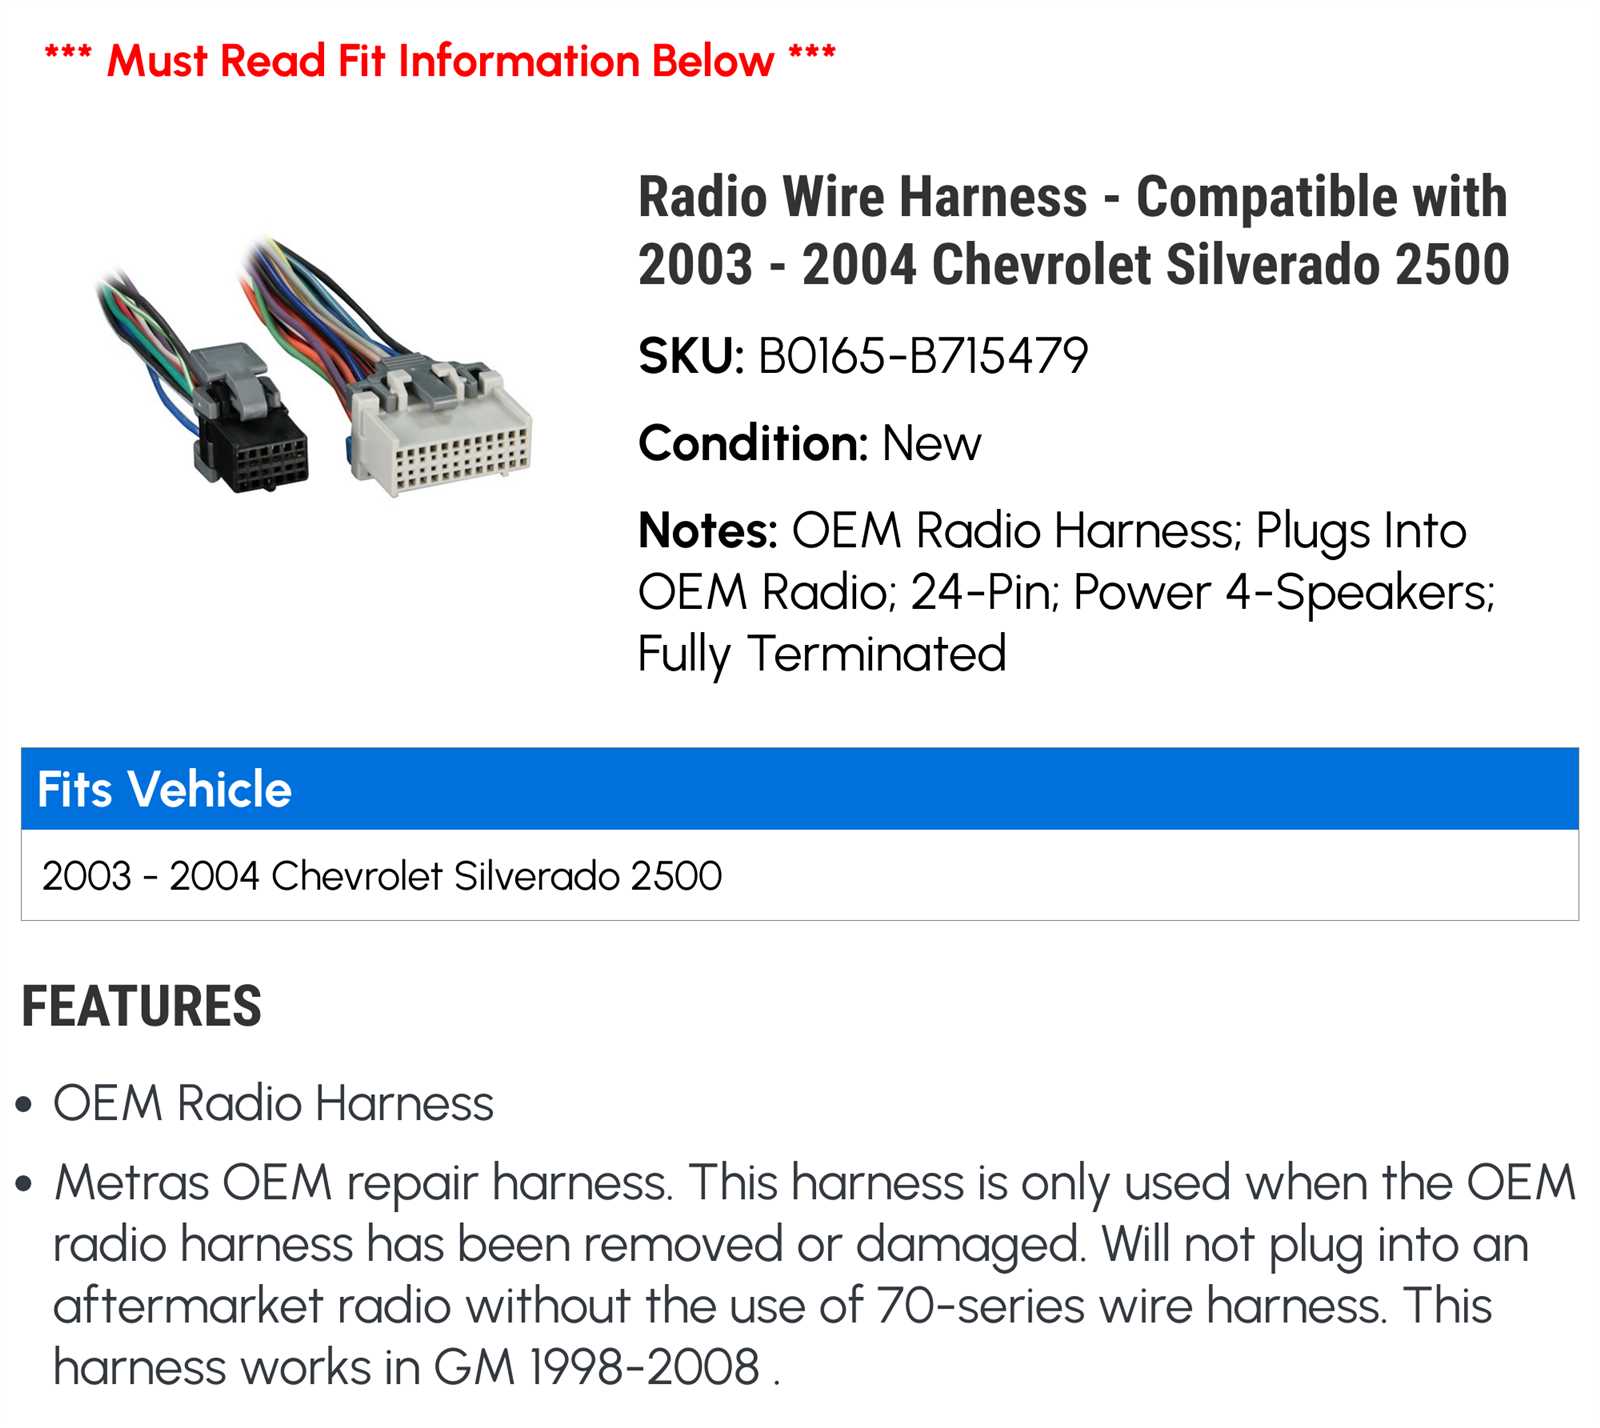
Purchase a high-quality Radio Replacement Interface (e.g., PAC OS-2, Metra GMOS). This module is essential for data bus communication, RAP retention, and warning chimes.
Use heat-shrink tubing and solder to connect the wires from your aftermarket wiring harness to the interface adapter harness. Never use crimp connectors in a vehicle subject to road vibration.
Selecting Your Interface Module
Do not cut corners on the interface module. A cheap, unbranded adapter often fails to maintain the correct chime volume or causes a battery drain by failing to “sleep” the data bus when the ignition is off. Trusted brands include PAC, Axxess, and Metra.

Audible — Listen Free for 30 Days
One free credit a month and thousands of titles included.
Listen Free for 30 DaysConnecting the Wiring Harness Adapter
Once you have matched colors (Yellow to Yellow, Red to Red, Black to Black), verify the connections. The interface module typically includes a small speaker (chime module) that must be plugged into the interface box to restore factory warning sounds.
Maintaining Factory Chime Functionality
Factory chimes are critical for alerts like “door ajar” or “lights left on.” By using a specialized harness, the module intercepts the data signal from the BCM and plays the chimes through the dedicated speaker rather than the factory radio.
Troubleshooting 2004 Chevy Silverado Radio Wiring Diagram Errors
Recommended Best Deal Products


If you have a no-power condition, check the 15A Radio fuse in the instrument panel fuse block before assuming the wiring is wrong. Always test your interface module status LED; if it is dark, it is not receiving proper data or power.
- Radio won’t power on: Check if you have the red “accessory” wire connected to a 12V switched source. If using an interface, ensure the data bus connection is secure.
- Missing audio in Bose systems: Ensure the “Amp Turn-On” (usually Blue/White) wire is connected. Without this, the Bose amplifier will not receive the signal to activate.
- Installation pitfalls: Avoid using “T-tap” connectors, as these are prone to failure and can cause high-resistance connections on the sensitive data bus wire.
By The Numbers
Data Bus Reliance
Typical Radio Fuse
The 2004 Silverado remains a reliable workhorse, but its audio integration requires respect for its digital nature. By utilizing a quality interface module, verifying your wiring with a multimeter, and ensuring proper Bose amplifier triggering, you can achieve a professional-grade installation. If you encounter issues, revisit your ground points and the status LED on your interface—these are the most common points of failure. Ready for your upgrade? Choose a reputable, high-quality interface adapter to ensure your 2004 Silverado audio build is reliable for years to come.
2004 Chevy Silverado Radio Wiring Diagram: Frequently Asked Questions
Do I need an interface for my 2004 Silverado radio install?
Yes. Because the 2004 Silverado uses a Class II serial data bus, the factory radio does not receive a traditional ‘switched’ 12V signal. An interface module is required to translate the data signal into an ignition power source for your new head unit and to preserve essential features like your door chimes and retained accessory power.
What color is the constant power wire?
The constant 12V battery power wire in the standard 2004 Chevy Silverado radio harness is Yellow. This wire provides the necessary power to maintain your radio’s memory settings, such as clock time and saved stations, even when the ignition is turned off. Always verify this with a multimeter, as aftermarket harness colors can sometimes differ from factory standards.
How do I keep my door chimes working?
To retain your door chimes, you must use a specialized wiring harness interface, such as those produced by PAC or Axxess. These units contain a small speaker or sound module that replicates the chime sounds. If you attempt to hard-wire the radio without this interface, you will lose the warning chimes for seatbelts, door-ajar alerts, and headlight warnings.
Why is my radio memory clearing every time I turn off the ignition?
This typically occurs because the yellow constant 12V power wire is not receiving steady power or has been incorrectly spliced. Ensure that the constant power wire is connected to a circuit that remains live even with the key removed. If using an interface module, check that the yellow-to-yellow connection is secure and the harness is fully seated.
Audible Premium Plus — Annual Membership
12 audiobook credits up front, plus the full Audible catalogue.
See Annual PlansDoes the 2004 Silverado wiring change between trim levels?
Yes. While the base wiring is similar, trucks equipped with the factory Bose premium audio system require a specific interface that can handle a lower-level audio signal output. Standard non-Bose systems use speaker-level outputs. Attempting to power a Bose system without the correct interface can lead to low volume, significant distortion, or permanent damage to the factory amplifier.