2011 Chevy Silverado Rear Drum Brake Diagram: Repair Guide 2026

The 2011 Chevy Silverado rear drum brake system features a self-adjusting mechanism, wheel cylinder, primary and secondary shoes, and return springs. The star-wheel adjuster is located at the bottom. Essential torque spec for the axle nut is 177 lb-ft. Ensure the primary shoe (shorter lining) faces the front of the vehicle.
📌 Key Takeaways
- Wheel lug nuts must be torqued to 140 lb-ft on 2011 Silverado 1500 models.
- The primary brake shoe is identified by a shorter lining material compared to the secondary shoe.
- Always replace hardware kits when servicing drums to ensure proper return spring tension.
- A seized star-wheel adjuster is the most common cause of uneven braking or pedal sinking.
- If a check engine light or ABS code appears, use an OBD-II scanner to rule out ECU-related hydraulic valve issues.
Understanding the mechanical intricacies of the 2011 Chevy Silverado rear drum brake system is essential for maintaining heavy-duty performance and stopping power. While many modern light-duty trucks have transitioned exclusively to disc systems, the 2011 Silverado often utilizes these robust drum assemblies to handle higher parking brake loads and rear-axle stresses. Whether you are troubleshooting a soft pedal or replacing worn friction material, referencing a detailed 2011 Chevy Silverado rear drum brake diagram ensures that complex spring configurations and self-adjuster mechanisms are correctly indexed. This guide provides the technical specifications and diagnostic procedures required to manage these components effectively, ensuring your braking system adheres to rigorous safety standards.
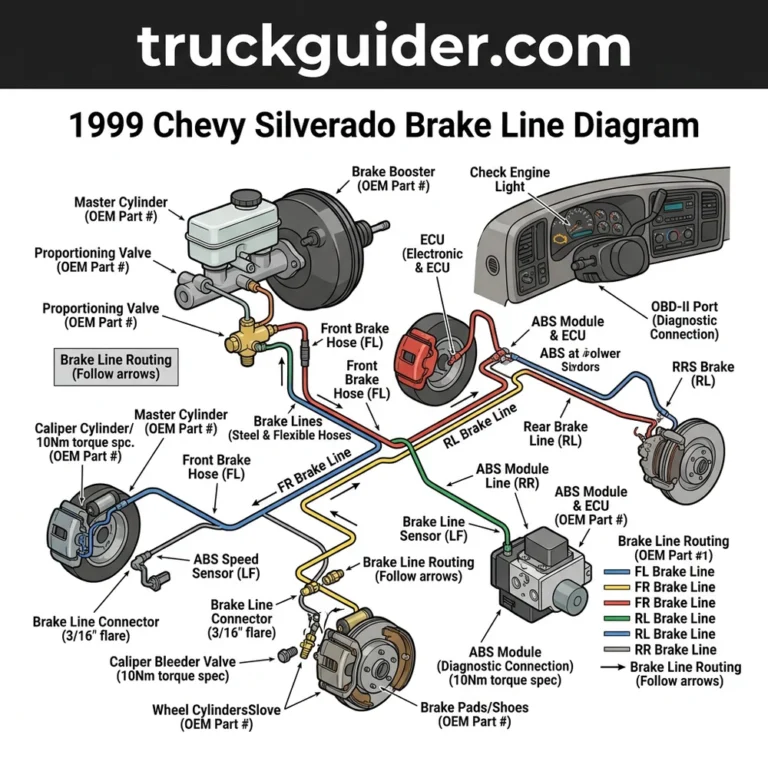
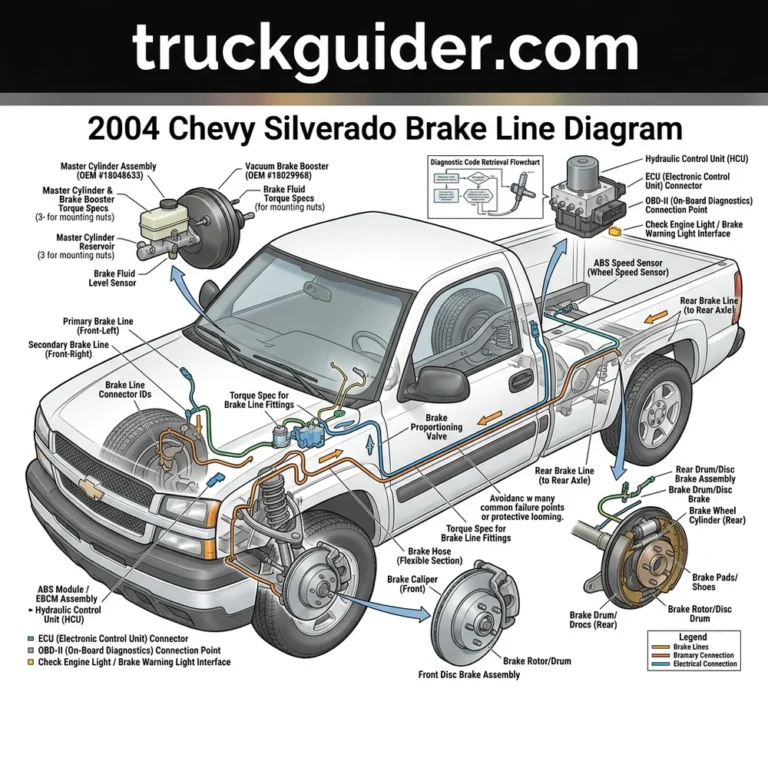
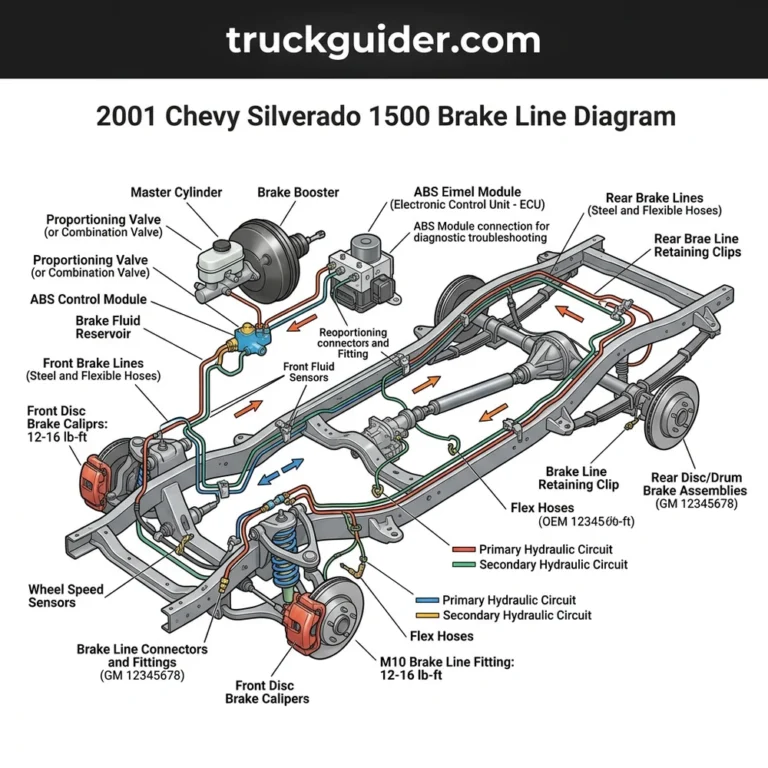
[IMAGE_PLACEHOLDER: 2011 Chevy Silverado Rear Drum Brake Diagram – Detailed Technical Schematic with Callouts for Hold-Down Springs, Wheel Cylinder, and Self-Adjuster]
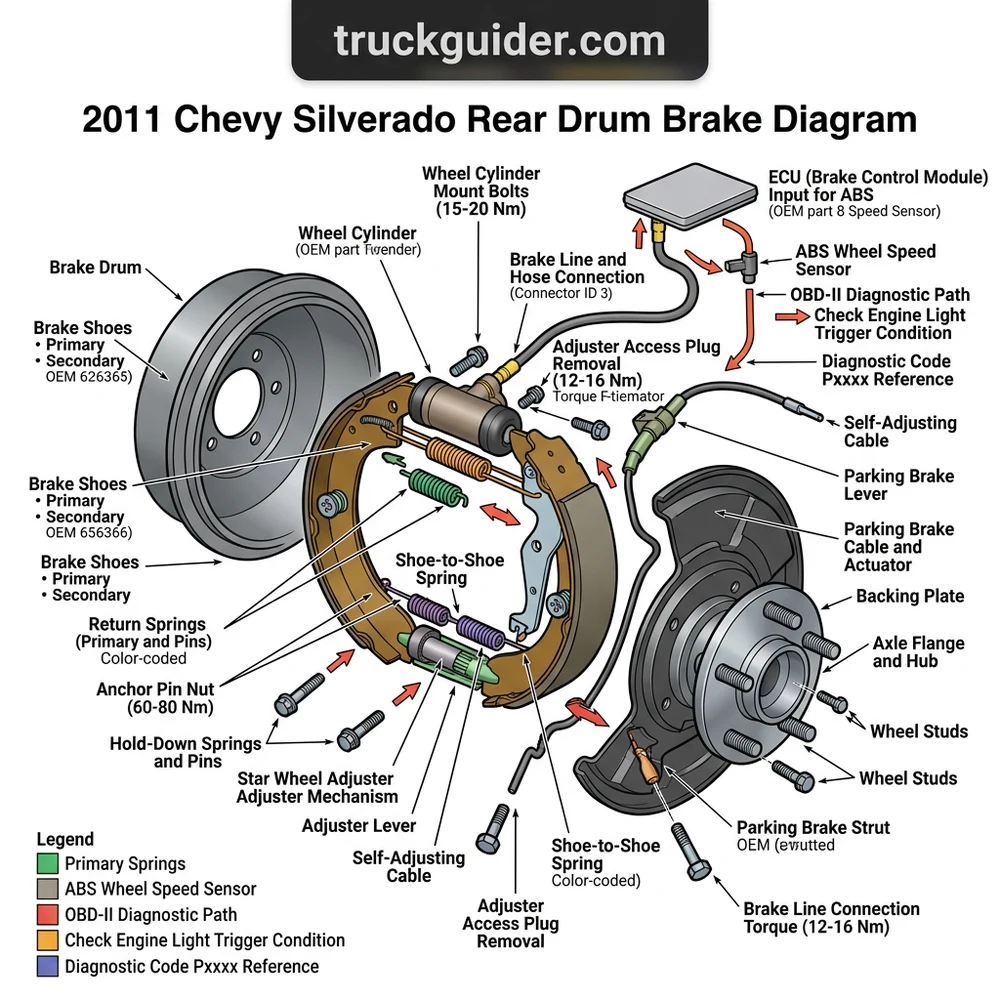
2011 Chevy Silverado Rear Drum Brake Diagram: Component Identification
Recommended Best Deal Products


Accurately identifying each component within the 2011 Chevy Silverado rear drum brake diagram is the first step in ensuring a successful rebuild. The system is a duo-servo design, where force is transferred from the primary shoe to the secondary shoe to multiply braking pressure.
Brake Drum and Shoe Configuration

The brake drum acts as the friction surface and enclosure for the entire assembly. When inspecting the drum, look for heat checking, heavy scoring, or an internal diameter exceeding the manufacturer’s “Discard” dimension. Inside, you will find the leading and trailing shoes. The leading shoe typically features a shorter lining, while the secondary (trailing) shoe has a longer, more aggressive friction material profile. These must be oriented correctly to function within the servo action of the system.
Wheel Cylinder and Hydraulic Integrity
The wheel cylinder is the hydraulic heart of the drum assembly. It houses two pistons forced outward by hydraulic pressure, expanding the brake shoes against the drum. If you detect leaking fluid behind the dust boots, the internal seals have failed. Unlike modern systems governed by an ECU for ABS intervention, the mechanical integrity here is absolute. If a diagnostic code indicates a failure in the ABS control module, ensure the wheel speed sensors are not being contaminated by leaking brake fluid, which can occasionally trigger a check engine light or false ABS alerts.
Self-Adjuster Mechanism and Spring Kit
The self-adjuster assembly includes the star wheel, the adjuster cable, and the pivot lever. As shown in the 2011 Chevy Silverado rear drum brake diagram, the adjuster cable runs from the anchor pin, over the guide, and connects to the pivot lever. When you reverse and apply the brakes, the lever catches the star wheel, rotating it if the shoe clearance has become excessive. The hold-down springs and cups are critical for maintaining shoe alignment; failure to secure these correctly can lead to metallic noise and uneven wear.
While drum brakes are independent of the engine’s oil pressure or timing chain systems, maintaining proper hydraulic pressure via a healthy master cylinder is vital. If you experience a hard pedal, ensure the proportioning valve is not stuck, as this unit regulates the pressure split between your front discs and rear drums.
Identifying Common 2011 Chevy Silverado Rear Drum Brake Symptoms
When evaluating symptoms, it is crucial to isolate the drum assembly from external factors like OBD-II diagnostic code triggers or electronic system errors. Use the table below to correlate physical symptoms with mechanical failure points.
| Symptom | Primary Suspect | Technical Mitigation |
|---|---|---|
| Low/Spongy Pedal | Wheel Cylinder/Air | Bleed system; use DOT 3/4 fluid |
| Grinding Noise | Worn Lining/Score | Replace shoes/turn or replace drums |
| Poor Parking Hold | Adjuster/Cable | Manual star wheel adjustment |
| Brake Fade | Overheating/Fluid | Inspect coolant flow near lines |
Master Cylinder and Brake Fluid Requirements
The master cylinder serves both front and rear circuits. If your 2011 Silverado exhibits a “low pedal” sensation, inspect the reservoir levels. Old brake fluid absorbs moisture over time, lowering its boiling point and causing fluid vaporization during heavy braking—often mistaken for brake fade. Always adhere to the DOT 3 or DOT 4 specification labeled on your reservoir cap.
Diagnosis and Inspection of 2011 Chevy Silverado Rear Drum Brakes
Recommended Best Deal Products


A structured diagnostic approach is necessary to determine if the issue is limited to the drum assembly or if it relates to a larger chassis system fault. Follow these steps to evaluate your hardware:
1. Lift and Support: Safely secure the truck on jack stands. Remove the rear wheels and the brake drums. If the drum is seized, use a rubber mallet to vibrate the assembly, or rotate the star wheel through the backing plate slot to retract the shoes.
2. Visual Inspection: Check for signs of hydraulic seepage around the wheel cylinder boots. If wet, the cylinder must be replaced. Inspect the backing plate for grooves caused by shoe chatter; excessive wear here can lead to binding.
3. Cable and Spring Evaluation: Examine the self-adjuster cable for fraying or kinking. A stretched cable will not pull the pivot lever correctly, resulting in an inoperative self-adjuster. Ensure all return springs retain their tension and are not heat-damaged.
4. Star Wheel Operation: Manually rotate the star wheel. It should move freely without excessive resistance. If it is rusted or seized, clean it with a wire brush and apply a thin coating of high-temperature brake grease.
5. Friction Surface Measurement: Use a brake drum micrometer to ensure the drum has not been turned beyond the safe diameter limit. Compare the thickness of the shoe linings against the factory service manual.
Do not use compressed air to clean brake dust, as it may contain hazardous particulates. Use a dedicated brake cleaner solvent to wash debris away from the backing plate and surrounding components into a containment tray.
Standard Maintenance and Adjustment of Rear Drum Assemblies
Maintaining the 2011 Chevy Silverado rear drum brake assembly requires periodic manual input to ensure the self-adjusters remain functional. While the system is designed to adjust automatically, environmental factors—such as road salt and debris—can lead to “frozen” components.
Manual Star Wheel Adjustment: If the pedal height is low, use a brake adjusting tool through the backing plate access hole to expand the shoes until a light drag is felt against the drum.
Proportioning Valve Check: Ensure the proportioning valve is not restricting flow to the rear drums. A faulty valve can cause the front disc brakes to do all the work, leading to premature wear and potential instability during panic stops.
Parking Brake Cable Tension: Tighten the parking brake assembly if the pedal travel is excessive. The rear shoes must be adjusted to the correct clearance before tensioning the parking brake cables to prevent binding.
Hardware Lubrication: During every tire rotation, use a high-temperature synthetic lubricant on the backing plate contact points where the brake shoes rest. This prevents “clicking” noises and uneven wear.
Always observe the specific torque spec for the lug nuts and backing plate bolts, typically 140 lb-ft for the lug nuts on this chassis. Use a calibrated torque wrench for all final fastenings to prevent stud shear or component distortion.
2011 Chevy Silverado Rear Drum Brake Diagram Questions Answered
Recommended Best Deal Products


How do I know if my 2011 Silverado drum brakes need replacement?
Beyond physical measurements, listen for grinding during low-speed stops. If your parking brake requires the pedal to travel almost to the floor, it is a clear indicator that the shoes are too far from the drum or the self-adjuster is non-functional.
Can I upgrade these to disc brakes?
Yes, aftermarket disc conversion kits are available, but they require significant modifications, including the removal of the original backing plates and potentially recalibrating the EBCM (Electronic Brake Control Module) to handle the different pressure requirements.
Does an OBD-II diagnostic code ever trigger for drum brakes?
The drum brake system itself is mechanical and will not throw a code. However, if the hydraulic pressure is compromised or if a wheel speed sensor is damaged during service, the ECU will store a diagnostic code and trigger the ABS/Brake warning lamp.
Why is the coolant flow mentioned in your technical notes?
While unrelated to the brakes, the 2011 Silverado’s engine bay is cramped. When working on brake lines near the frame rails, ensure you do not inadvertently disturb coolant hoses or transmission cooler lines, which could cause leaks and subsequent overheating issues during operation.
What is the most critical part of the 2011 Chevy Silverado rear drum brake diagram to get right?
The orientation of the primary and secondary shoes. If swapped, the duo-servo action will be reversed, causing the brakes to be either extremely grabby or ineffective, and potentially resulting in the adjuster failing to function entirely. Always verify against your specific 2011 Chevy Silverado rear drum brake diagram during reassembly.
Step-by-Step Guide to Understanding the 2011 Chevy Silverado Rear Drum Brake Diagram
Identify – Verify the correct brake shoe size and hardware kit compatibility before disassembly.
Locate – Position the vehicle on a flat surface, engage the parking brake, and remove the rear wheels.
Reference – Use the diagram to map the position of the upper and lower return springs.
Connect/Route – Install the new brake shoes and connect the adjuster cable and star-wheel assembly per the schematic.
Verify – Torque all lug nuts to 140 lb-ft and perform several backward stops to engage the self-adjuster.
Troubleshoot – If the pedal remains spongy, bleed the brake lines and check the ECU for residual diagnostic codes.