Ram 1500 Tail Light Bulb: Replacement & Diagram Guide
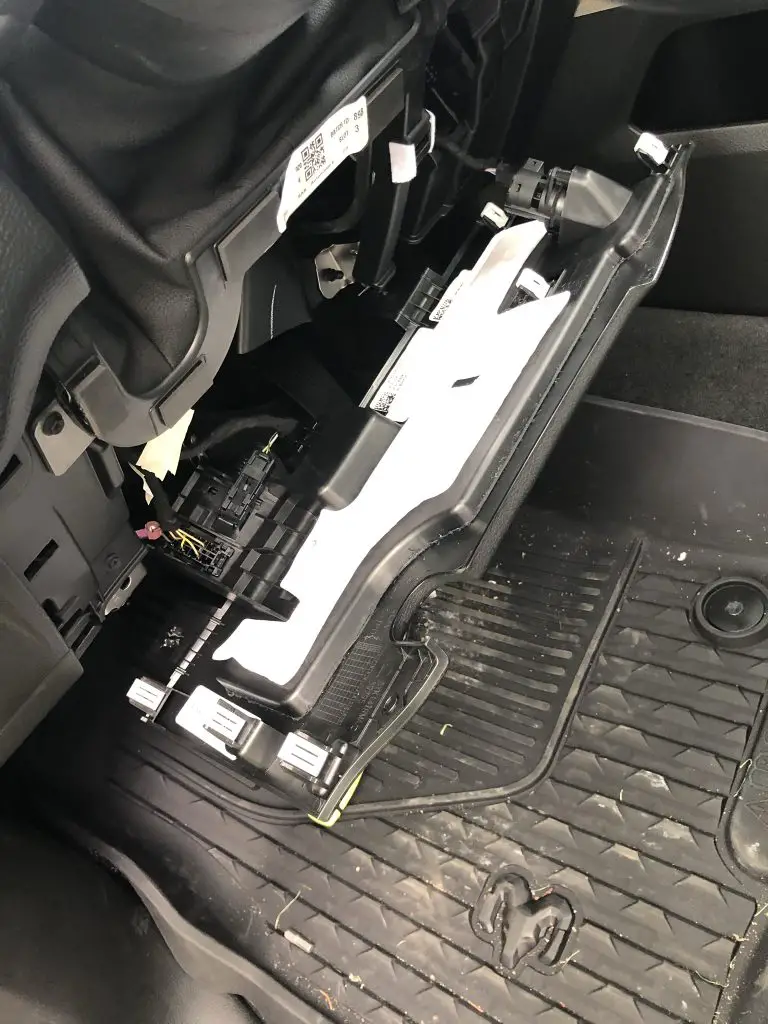
The Ram 1500 tail light bulb system consists of a multi-lamp assembly containing brake, turn signal, and reverse lights. To access these, remove the two T25 Torx screws inside the tailgate gap, pull the housing straight back, and twist the bulb socket counter-clockwise to replace the specific failed component.
📌 Key Takeaways
- Explains the electrical path for brake and signal lights.
- Identifying the correct socket for each specific bulb function.
- Ensure the vehicle power is off to avoid electrical shorts.
- Use a T25 Torx driver to prevent stripping the mounting screws.
- Use this when performing DIY maintenance or upgrading to LEDs.
Finding the correct ram 1500 tail light bulb and understanding how the rear lighting system is configured is a fundamental skill for any truck owner. Whether you are dealing with a burnt-out brake light or upgrading your reverse lights for better visibility, having a clear schematic of the assembly is essential. A tail light failure is not just a matter of convenience; it is a significant safety concern and a legal requirement for road operation. This article provides a comprehensive overview of the rear lighting structure, utilizing a detailed diagram to explain the internal configuration of the housing. You will learn how to identify each component, navigate the electrical layout, and perform a successful bulb replacement using a professional-grade blueprint of the system.
Understanding the Tail Light Assembly Structure
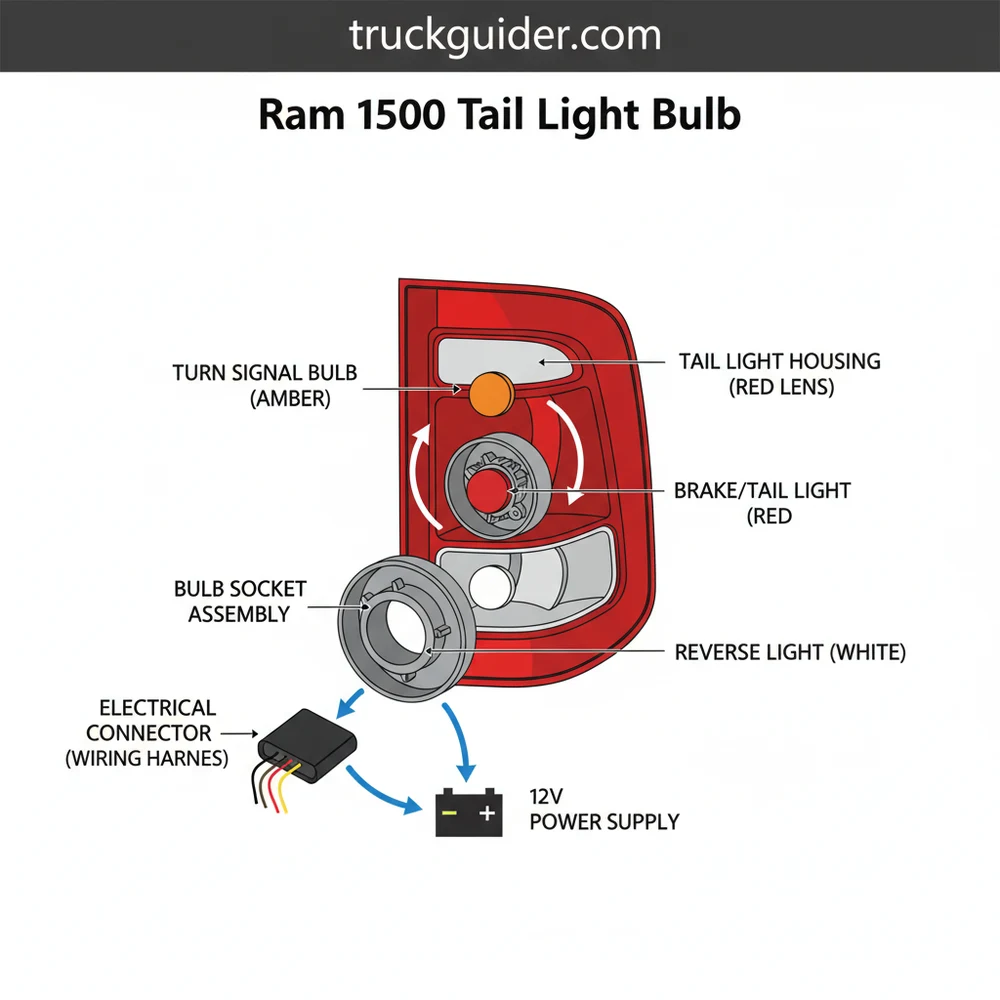
The rear lighting system on a modern pickup truck is more than just a plastic housing with a few lights inside; it is a precisely engineered component designed for durability and visibility. When looking at a diagram for a ram 1500 tail light bulb setup, you will notice a specific layout that prioritizes heat dissipation and environmental sealing. The assembly typically consists of a high-impact polycarbonate lens, a reflective inner housing, and a series of twist-lock sockets that hold the individual bulbs in place.
Most standard configurations utilize a dual-filament bulb for the tail and brake light functions, while the reverse light usually occupies a separate, dedicated socket at the bottom of the assembly.
The internal schematic of the housing reveals three primary zones. The uppermost section is generally reserved for the tail and stop lamp functions. This area uses a larger reflector to ensure that the brake signal is visible even in direct sunlight. The middle section often houses the turn signal, although on many models, the turn signal and brake light share the same dual-filament ram 1500 tail light bulb. The bottom section is dedicated to the reverse or “back-up” lamp, featuring a clear lens portion to project white light behind the vehicle.
(Visualizing a vertical tail light housing with three distinct sockets. Top: Brake/Tail (3157/7444). Middle: Turn Signal (if separate). Bottom: Reverse (921/7440). Wiring harness connects all three to a single main plug.)
In the diagram above, the blueprint highlights the location of the two main mounting pins on the outer edge of the housing and the two T25 Torx screws on the inner tailgate side. Understanding this configuration is vital because applying pressure in the wrong direction during removal can snap the plastic alignment tabs, leading to a loose housing that allows moisture to enter the system.
Step-By-Step Guide to Interpretation and Replacement
To successfully use the schematic and perform maintenance on your vehicle, you must follow a logical progression. The following steps will guide you through the process of interpreting the layout and executing a ram 1500 tail light bulb replacement with precision.
- ✓ Step 1: Gather Necessary Tools – You will typically need a T25 Torx driver or a 10mm socket, depending on your specific trim level. A plastic trim removal tool is also helpful for prying the housing away from the body without scratching the paint.
- ✓ Step 2: Access the Mounting Screws – Lower the tailgate to reveal the two screws located on the inner edge of the tail light pocket. These are the primary anchors identified in your system overview.
- ✓ Step 3: Disengage the Housing – Once the screws are removed, pull the housing straight back toward the rear of the truck. Do not pull outward (to the side), as the schematic shows alignment pins that slide horizontally into rubber grommets in the truck’s body.
- ✓ Step 4: Identify the Target Socket – Referencing the diagram, locate the socket corresponding to the failed bulb. Rotate the socket counter-clockwise (left) about a quarter-turn to unlock it from the reflective structure.
- ✓ Step 5: Replace the Bulb – Pull the old ram 1500 tail light bulb straight out of the socket. Inspect the socket for any signs of corrosion or melting. Insert the new bulb firmly until it clicks or seats fully.
- ✓ Step 6: Test and Reassemble – Before screwing the housing back in, turn on your hazard lights or have a friend press the brake pedal to ensure the new bulb is functioning. Reverse the removal steps to secure the assembly.
Always ensure the vehicle is in park and the engine is off before working on the electrical system. If your truck is equipped with LED factory lights, the bulbs are often integrated and may require a different service approach than standard incandescent bulbs.
When interpreting the wiring layout, take note of the wire colors. Typically, a black wire indicates the ground, while various colored wires (such as white with a green stripe) carry the signal for the brake or turn functions. If you find that a new bulb does not work, the schematic helps you trace these wires back to the main connector to check for pin corrosion or a loose fit.
Common Issues and Troubleshooting

Even with a clear blueprint, you may encounter obstacles during the replacement of a ram 1500 tail light bulb. One of the most frequent problems is moisture intrusion. If you see condensation inside the lens, the seal between the socket and the housing has likely failed, or the housing itself has a hairline crack. Over time, this moisture can corrode the metal contacts inside the socket, leading to intermittent light failure.
Another common issue is the “hyper-flash” phenomenon, where the turn signal blinks much faster than normal. This is usually the vehicle’s way of notifying you that a bulb is out. However, if you have recently installed LED bulbs, the truck’s computer system may not detect the lower power draw, assuming the bulb is burnt out. In this scenario, the layout remains the same, but you may need to install load resistors to balance the system.
If your tail light works but the brake light doesn’t (or vice-versa) on the same bulb, the dual-filament inside the ram 1500 tail light bulb has partially failed. Always replace these bulbs in pairs to ensure even brightness and longevity across both sides of the vehicle.
If you replace the bulb and it still doesn’t illuminate, check the fuse box. Use your owner’s manual to find the fuse schematic and locate the specific fuse for the rear lighting circuit. If the fuse is intact and the bulb is new, the problem may lie in the trailer wiring harness, which often shares the same circuitry on many truck configurations.
Tips and Best Practices for Maintenance
Maintaining your truck’s lighting system extends beyond just swapping out a dead bulb. To ensure your ram 1500 tail light bulb lasts as long as possible, consider the following best practices. First, always use dielectric grease on the bulb terminals. This non-conductive, silicone-based grease seals out moisture and prevents the “green crust” of corrosion from forming on the metal contacts.
When selecting replacement components, pay attention to the bulb numbers. While many bulbs look similar, using the wrong wattage can cause the housing to overheat and warp. For standard incandescent systems, the 3157 or 7444NA are common for the main functions, while the 921 is a standard reverse light. Check the markings on your old bulb or refer to the specific configuration guide for your trim level.
Clean the exterior lens with a dedicated UV-protectant cleaner. Oxidation can cloud the plastic, significantly reducing the light output of even the brightest new bulbs.
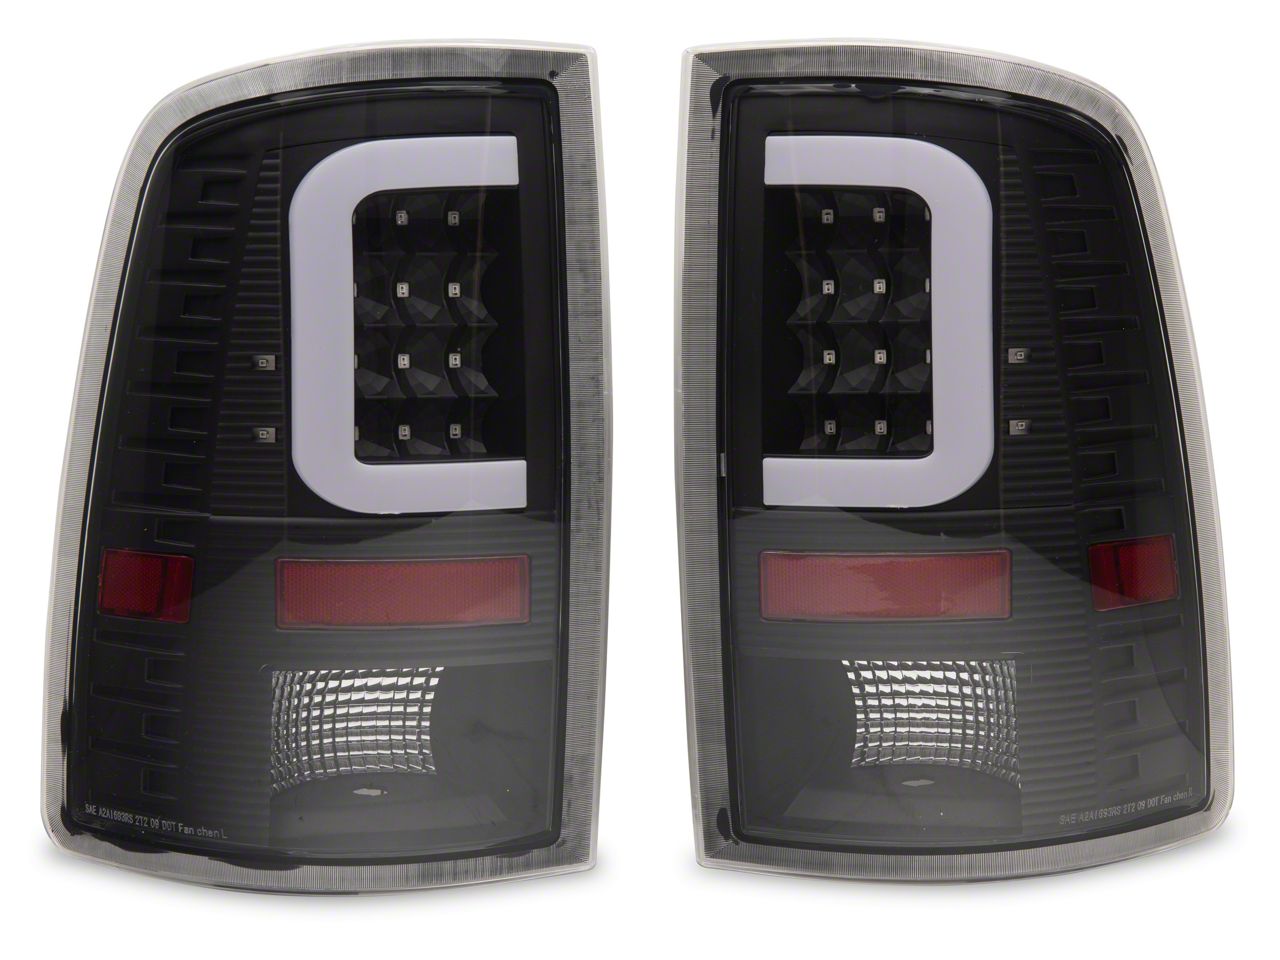
For those looking to save money in the long run, transitioning to high-quality LED replacements can be beneficial. LEDs draw less power, run cooler, and typically last the lifetime of the vehicle. However, ensure they are “CAN-bus compatible” to avoid error codes on your dashboard. Additionally, when re-installing the housing, do not over-tighten the mounting screws. The plastic tabs on the housing can crack under excessive pressure, leading to vibration and potential water leaks.
Summary of the Tail Light System Configuration
Navigating the complexities of a vehicle’s electrical system becomes significantly easier when you have a structured approach. By understanding the ram 1500 tail light bulb layout and the mechanical configuration of the housing, you can handle most maintenance tasks with confidence. The combination of a detailed schematic and a systematic replacement process ensures that your truck remains visible and safe on the road.
Remember that the tail light assembly is a critical component of your vehicle’s communication system. It signals your intentions to other drivers and protects you from rear-end collisions. Regular inspections of the bulbs, sockets, and lenses will help you catch small issues like hairline cracks or minor corrosion before they turn into complete system failures. By following the blueprint and best practices outlined in this guide, you can ensure that your rear lighting remains reliable for many miles to come. Whether you are sticking with traditional incandescent bulbs or upgrading to a modern LED system, the core principles of the housing structure and electrical connection remain your most important tools for a successful DIY repair.
Step-by-Step Guide to Understanding the Ram 1500 Tail Light Bulb: Replacement & Diagram Guide
Identify the failed bulb by testing brake, signal, and reverse functions with a helper.
Locate the two mounting screws found inside the tailgate channel of the truck bed.
Understand how the housing is secured by pulling it straight rearward to release the pins.
Connect the new bulb into the socket after twisting the old one out of the housing.
Verify that the new bulb illuminates correctly before reinstalling the entire light assembly structure.
Complete the installation by tightening the mounting screws and ensuring the assembly is flush with the body.
Frequently Asked Questions
Where is the tail light bulb located?
The bulbs are housed within the rear light assemblies on both sides of the truck bed. To reach them, you must lower the tailgate and unscrew the mounting hardware. The layout places the stop/turn bulb at the top or bottom depending on your specific model configuration.
What does the tail light diagram show?
The diagram illustrates the internal structure of the housing, identifying which wires lead to the brake, turn signal, and reverse lights. It helps you understand the electrical configuration of the circuit and where each bulb socket sits within the tail lamp system for easy troubleshooting.
How many wires does the bulb socket have?
Most Ram 1500 tail light bulb sockets feature a three-wire configuration. These typically represent the ground, the low-intensity parking light circuit, and the high-intensity brake or turn signal circuit. Understanding this layout is essential for those upgrading to aftermarket LED systems or custom wiring harnesses.
What are the symptoms of a bad tail light bulb?
Common symptoms include a visible dark spot in the housing, a fast-blinking turn signal indicator on the dashboard (hyper-flashing), or a ‘Lamp Out’ message on the instrument cluster. Inspect the filament structure inside the glass or check for melted plastic around the socket connector.
Can I replace this bulb myself?
Yes, replacing a Ram 1500 tail light bulb is a straightforward DIY task that takes about ten minutes. You only need a basic screwdriver or Torx set. The modular layout allows for individual component replacement without needing to buy an entirely new expensive tail light housing.
What tools do I need for replacement?
To access the bulbs, you primarily need a T25 Torx head driver or a 10mm socket, depending on your truck’s generation. Having a small flat-head screwdriver can also help in gently releasing the red locking tabs on the electrical connectors if they become stuck.

![2020 Ram 1500 Rear Bumper Technical Specifications [2026]](https://truckguider.com/wp-content/uploads/2026/03/featured-0c3f5ce7-768x768.webp)