How to Check Tire Pressure: Pro-Level Accuracy Execution

Your tires are the only point of contact between your vehicle and the road, making proper inflation critical for your safety and fuel efficiency. Checking your tire pressure is a simple, five-minute task that requires only a reliable gauge and a few moments of your time.
In this article, we will guide you through locating your vehicle’s specific PSI requirements, selecting the right tools, and executing the correct steps to ensure your tires are road-ready.

Audible — Listen Free for 30 Days
One free credit a month and thousands of titles included.
Listen Free for 30 Days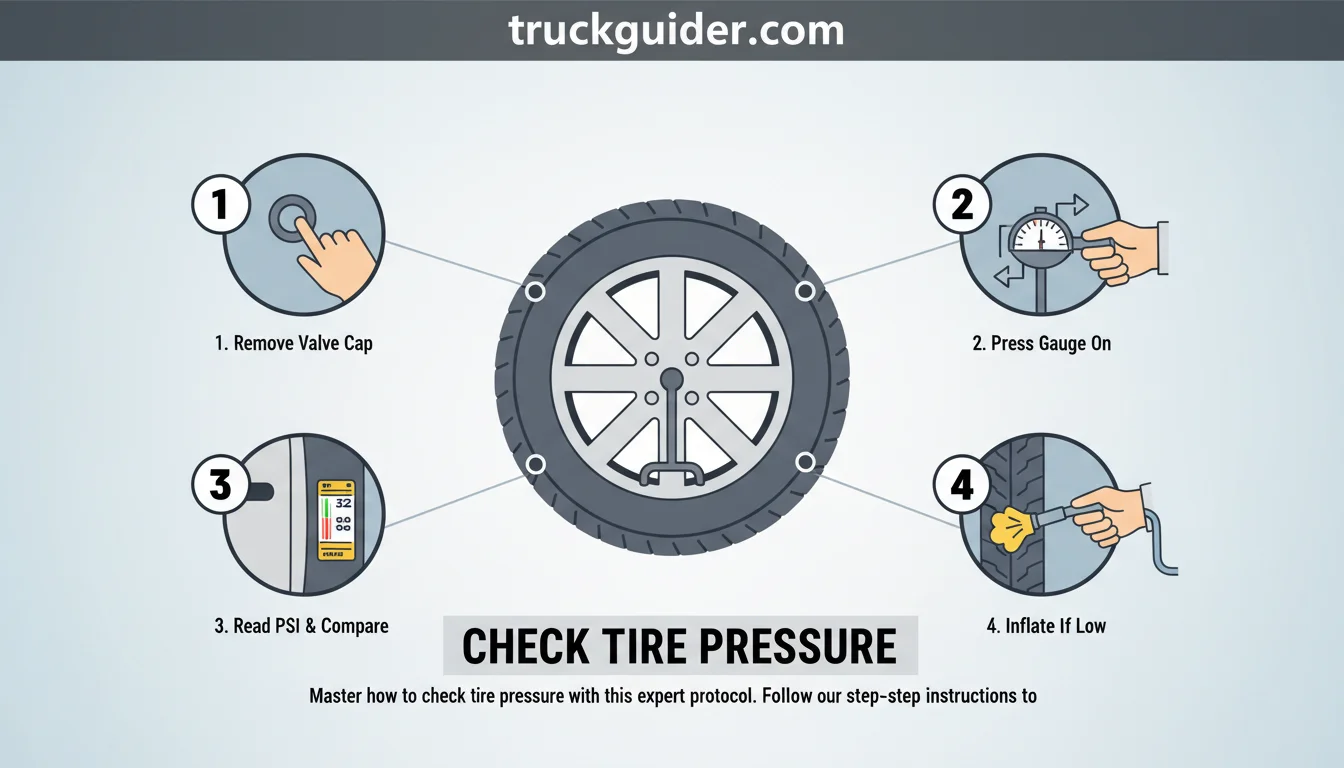
The Importance of Proper Tire Pressure Maintenance
Recommended Best Deal Products


Maintaining correct tire pressure is vital for vehicle safety, fuel efficiency, and tire longevity. Both underinflation and overinflation negatively impact your driving experience and tire health. When tires are underinflated, they generate excessive heat and cause irregular tread wear, which creates a significant blowout risk. Conversely, overinflation reduces the tire’s road contact patch, leading to a harsher ride and accelerated wear along the center of the tread. Ultimately, keeping tires at the manufacturer-recommended PSI optimizes fuel economy and ensures maximum vehicle stability.

When and Why to Check Your Tire Pressure
Understanding the ‘Cold Tire Pressure’ Rule
For an accurate reading, you must check your tire pressure when the tires are “cold.” This means the vehicle has been parked for at least three hours or driven for less than one mile. Measuring after the vehicle has been in motion causes friction, which heats the air inside the tires.
As the air warms, it expands, causing the pressure reading to rise artificially. For example, a tire that registers 32 PSI in the cool morning might read 35 PSI after you drive on the highway. Always rely on the cold baseline to ensure your tires are correctly inflated according to the manufacturer’s specifications.
How Ambient Temperature Affects Your PSI
External weather conditions also dictate your tire pressure readings. As a general rule of thumb, your tire pressure will fluctuate by approximately 1 PSI for every 10°F change in ambient temperature. When the mercury drops, the air inside your tires contracts, leading to a natural decrease in pressure.
Most modern vehicles feature Tire Pressure Monitoring Systems (TPMS) that alert you when temperatures cause a significant drop in pressure, but you should still perform manual checks monthly.
Locating Your Vehicle’s Recommended Tire Pressure
Recommended Best Deal Products


Finding the Tire Information Placard
Checking and adjusting tire pressure is a fundamental aspect of vehicle maintenance. You should always use the manufacturer-recommended PSI found on the vehicle information placard, rather than the numbers printed on the tire sidewall. The sidewall lists the maximum pressure the tire can hold, which is rarely the optimal pressure for your vehicle’s handling or fuel efficiency.
In most modern vehicles, this placard is a sticker located on the driver’s side doorjamb. If you cannot find it there, check the edge of the door itself, the glove box, or your owner’s manual for the official tire specification label.
Front vs. Rear Tire Pressure Differences
Not every tire on your vehicle requires the same amount of air. Depending on your car’s weight distribution, the manufacturer may specify different PSI levels for the front and rear axles. For example, some models might require 33 PSI for the front tires and 35 PSI for the rear.

Prime for Young Adults — 6 Months Free
Students and 18–24s get six months of Prime free, then half price.
Start 6 Months FreeAlways verify the individual requirements for each position listed on the placard. Following these specific guidelines ensures balanced tire wear, safer braking performance, and better overall vehicle stability during daily operation.
Essential Tools for Measuring Tire Pressure
A reliable tire pressure gauge is mandatory for an accurate reading. Relying on a simple visual inspection is insufficient, as modern tires can look properly inflated even when they are significantly under-pressured. Investing in a quality tool ensures your vehicle maintains optimal performance and safety.
Choosing Between Digital and Analog Gauges
Digital gauges offer superior precision and feature easy-to-read LED screens for quick checks. Conversely, dial gauges are highly robust and retain the pressure reading even after being removed from the valve.
While a basic pencil gauge found at a gas station is inexpensive and highly portable, it is often less accurate than a high-quality dial gauge. Choosing the right tool depends on your preference for long-term durability versus simple, budget-friendly convenience.
How to Check Tire Pressure Step-by-Step
Recommended Best Deal Products


Preparing Your Vehicle for the Check
To ensure an accurate reading, you must perform this process when your tires are “cold.” This means the vehicle has been parked for at least three hours or has been driven for less than one mile. Heat from driving expands air inside the tires, which creates a false high-pressure reading.
Using the Gauge Correctly on the Valve Stem
Find the rubber or metal valve stem on the wheel and unscrew the protective plastic cap. Keep the cap in a secure spot so it does not get lost.
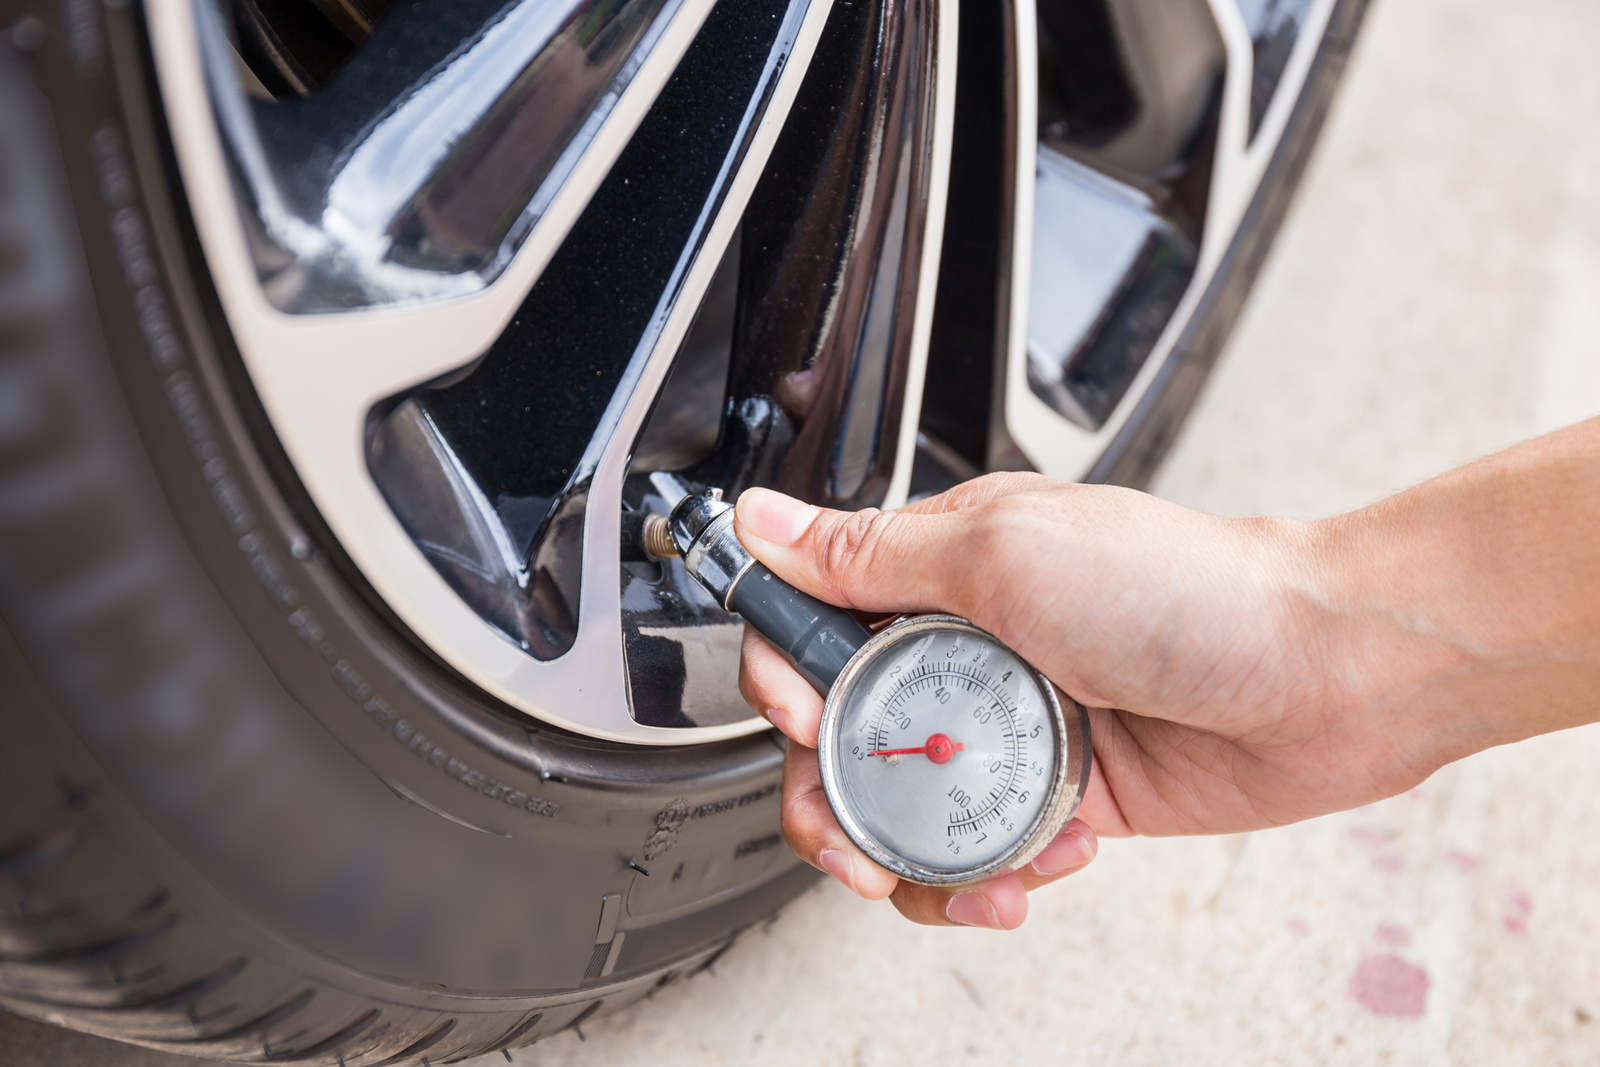
Press your gauge firmly onto the valve stem. If using a pencil gauge, keep it perfectly straight; an angled approach allows air to escape, causing an inaccurate, lower reading. Push until the hissing stops, then note the measurement.
Compare your result against the vehicle placard. Repeat this process for all four tires, ensuring you screw the valve caps back on tightly once finished.
Audible Premium Plus — Annual Membership
12 audiobook credits up front, plus the full Audible catalogue.
See Annual PlansHow to Inflate Your Tires and Adjust Pressure
Using a Gas Station Air Compressor
If your tires are underinflated, head to a local gas station. Many offer quarter-operated air machines. Once you have inserted your payment, attach the air hose nozzle firmly to the valve stem. Add air in short bursts, checking the pressure with a manual gauge frequently to ensure you do not exceed the vehicle’s recommended PSI.
Bleeding Excess Air for a Perfect PSI Match
If you have overinflated your tire, you must release the extra air. Use the integrated bleeder valve on your pressure gauge or gently depress the small pin located in the center of the tire’s valve core with a tool. Release air slowly, checking your gauge until you reach the exact target number. Once satisfied, securely replace the valve cap to prevent leaks and protect the valve from debris.
Common Mistakes When Checking Tire Pressure
Why Relying on TPMS is Dangerous
Modern sensors are helpful, but they shouldn’t replace manual checks. TPMS alerts often trigger only after pressure drops significantly, and sensors can malfunction or require resets after inflation. Relying solely on this dashboard light may lead you to ignore small leaks that affect fuel economy and tread wear.
The Pitfalls of Adjusting Hot Tire Pressure
Always check tires while cold, as friction creates heat that artificially inflates PSI readings. Adjusting pressure based on warm tires often leads to under-inflation once they cool. Furthermore, never use the maximum PSI listed on your tire sidewall; this is the limit for the tire’s construction, not the vehicle manufacturer’s recommended operating pressure.
Finally, be quick when attaching your gauge. Slow, hesitant connections allow excessive air to escape, skewing your readings and defeating the purpose of your maintenance routine.
Key Takeaways
-
✓
Find the recommended PSI on your vehicle’s driver-side door jamb placard, not the sidewall of the tire. -
✓
Always check tire pressure when the tires are ‘cold’—after the vehicle has been parked for at least three hours. -
✓
Use a reliable digital or dial gauge for the most accurate pressure reading. -
✓
Remove the valve cap, press the gauge firmly onto the stem, and record the measurement immediately. -
✓
Adjust pressure by adding air if the reading is low or pressing the valve pin to release air if it is too high.
❓ Frequently Asked Questions
1
What is the correct tire pressure for my vehicle?
The correct pressure is not universal. You must check the tire information placard located on the driver-side door jamb or inside your owner’s manual. Never use the maximum pressure number printed on the tire sidewall, as that refers to the tire’s structural limit, not your vehicle’s specific operating requirements.
2
How does the tire pressure check process work?
The process involves using a pressure gauge to measure the air force inside the tire. By removing the valve stem cap and pressing the gauge onto the valve, you force a small amount of air against the gauge’s internal mechanism, which provides a numerical PSI reading compared against your car’s factory specs.
3
Why is checking tire pressure important?
Proper tire pressure is critical for safety, handling, and fuel economy. Under-inflated tires increase rolling resistance and lead to overheating, which can cause blowouts. Over-inflated tires reduce the contact patch, leading to uneven tread wear and poor traction during emergency maneuvers or wet weather conditions.
4
What are the benefits of maintaining correct pressure?
Maintaining the recommended PSI ensures your vehicle handles as the manufacturer intended. Benefits include extended tire lifespan, improved fuel efficiency by reducing drag, and better braking performance. It also helps prevent premature suspension component wear and protects your rims from potential impact damage on uneven road surfaces.
5
How can I get started with this maintenance technique?
Start by purchasing a reliable tire pressure gauge. Before your next drive, while the tires are cold, unscrew the valve cap on each wheel. Apply the gauge to the valve stem to get a reading, compare it to your door placard, and use an air compressor to adjust as needed.
6
How do I check my tire pressure?
Remove the valve cap, firmly press a tire pressure gauge onto the valve stem, read the PSI, and compare it to the placard.